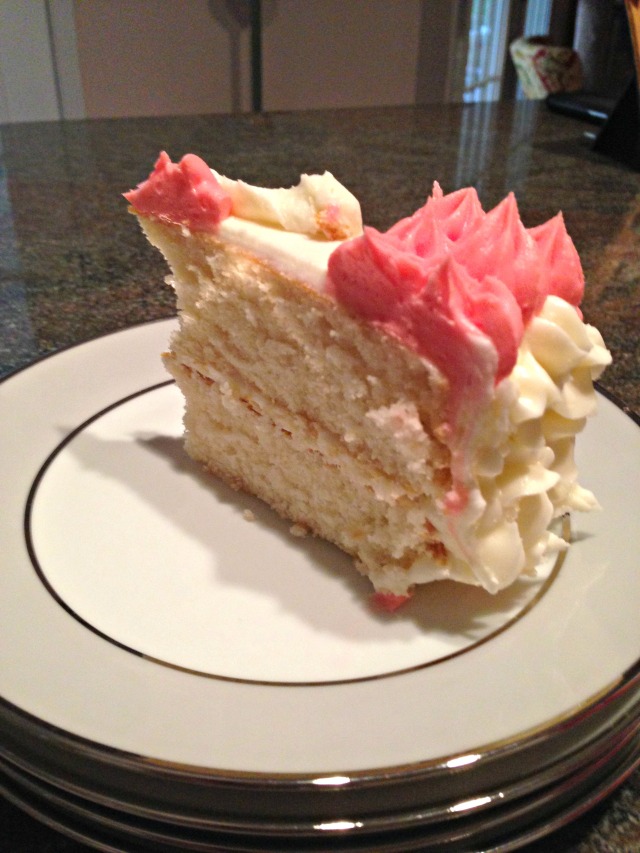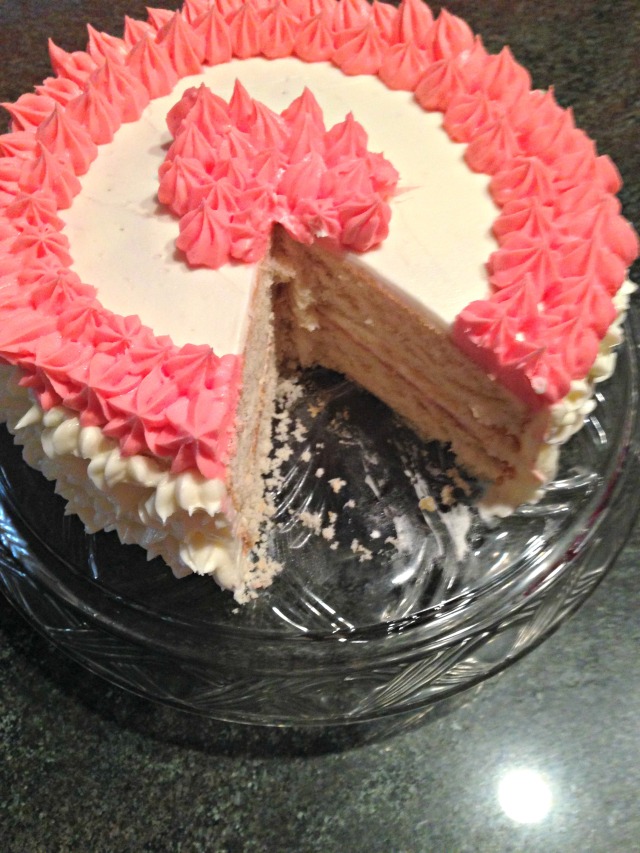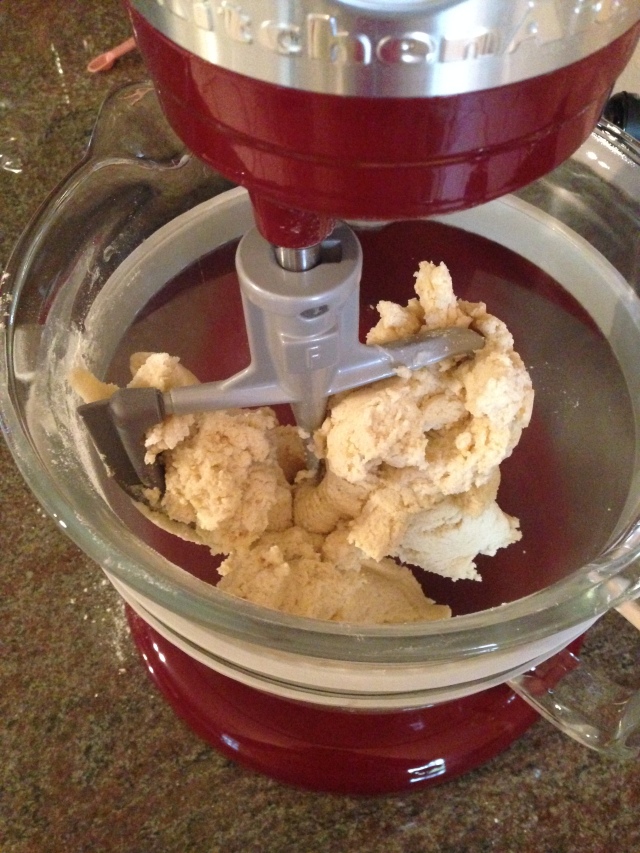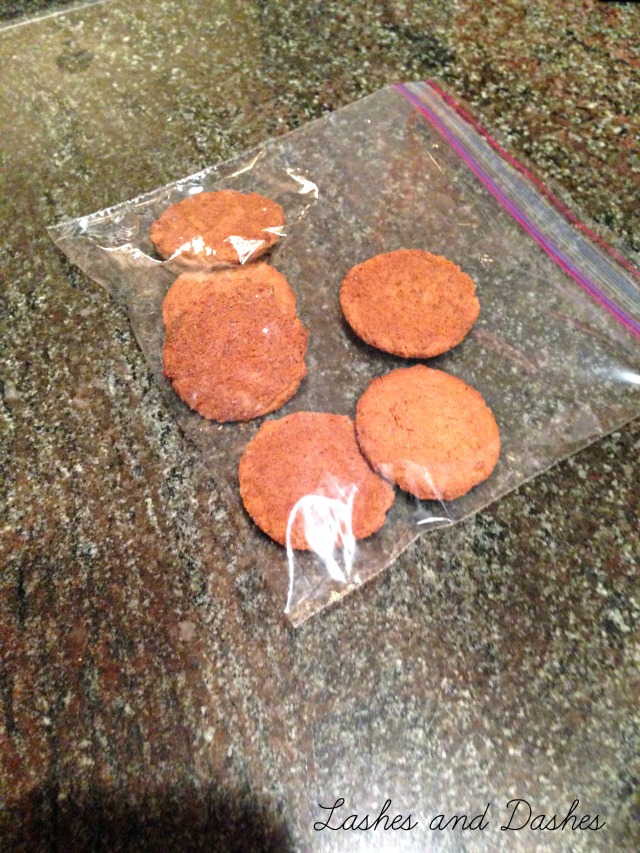
Healthy Almond Meltaway Cookies.

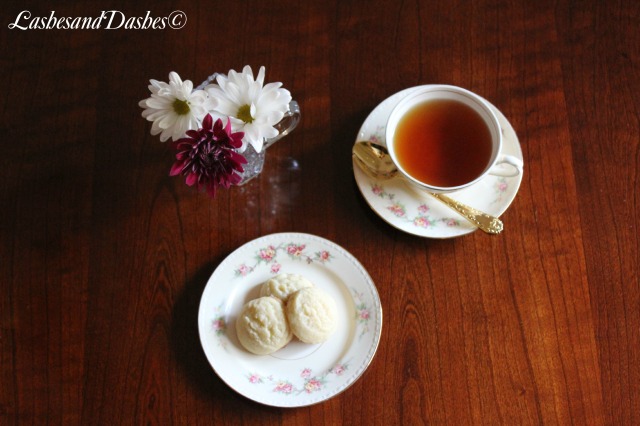
Almond Meltaway Cookies via LashesandDashes
Today I am bringing you an updated Healthy Almond Meltaway Cookies recipe. As most people in the world including my family are getting healthy I thought I would repost this yummy recipe. If you are anything like me, you still have to have something sweet while eating healthy. This recipe is even better then the original full fat version. I hope you all had a wonderful Christmas and New Year! In the next coming weeks I will be talking a bit more about the system we will be using to get healthy. Below is the original post as well as new photos. As a side note in the original post I announced I was moving back home to Florida. It is crazy to think we are two short months away from being here a full year! 
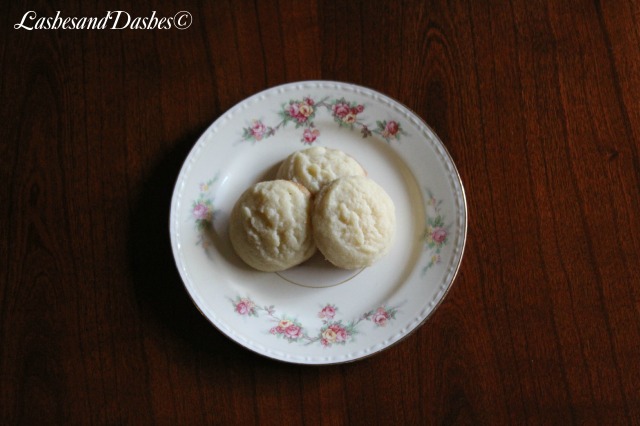
Almond Meltaway Cookies via LashesandDashes
Today I am  taking a quick break from iTunes Tuesday to bring you delicious Almond Meltaway Cookies, that on top of being yummy are also healthy! As a side note I can officially tell you that we are moving home to Pensacola, Fl woohoo! Now back to your regularly scheduled programming :)  My mom loves almond so they were a hit with her as well as my dad and I. The original recipe comes from The Novice Chef. I changed the recipe up a bit to make it a little healthier . The original recipe also had a glaze on top, I did not include the recipe for this but feel free to stop over at The Novice Chef to get the original recipe.  Enjoy :)

Almond Meltaway Cookies via LashesandDashes

Ingredients 

2 cups King Arthur Organic Unbleached Flour

1/2 teaspoon baking powder

1/4 teaspoon salt 
1 cup Organic Extra Virgin Coconut Oil

3/4 cup Wholesome Sweeteners Organic Fair Trade Cane Sugar

1 large egg

1 tablespoon almond extract

Directions:

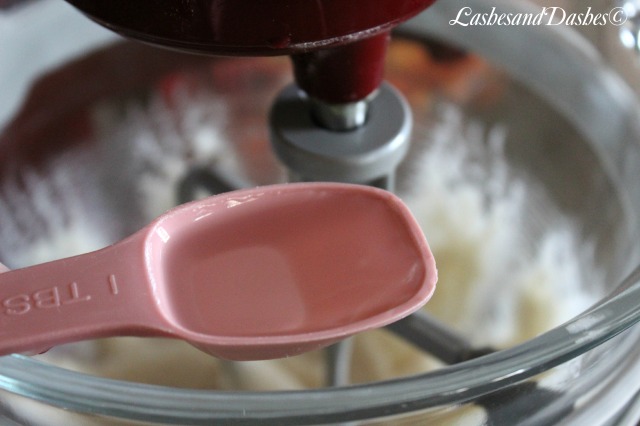
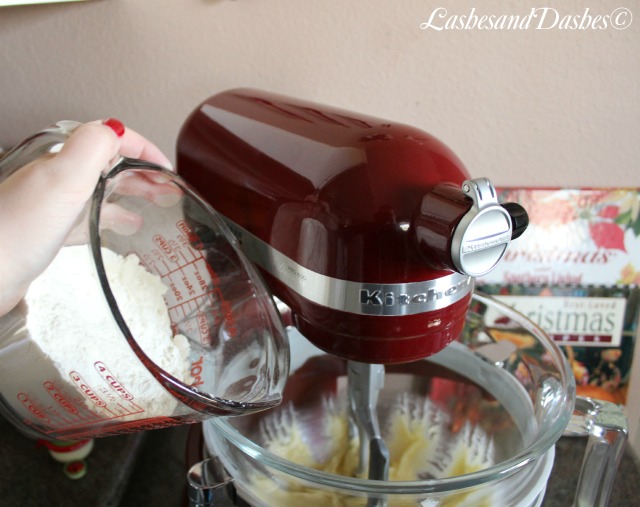
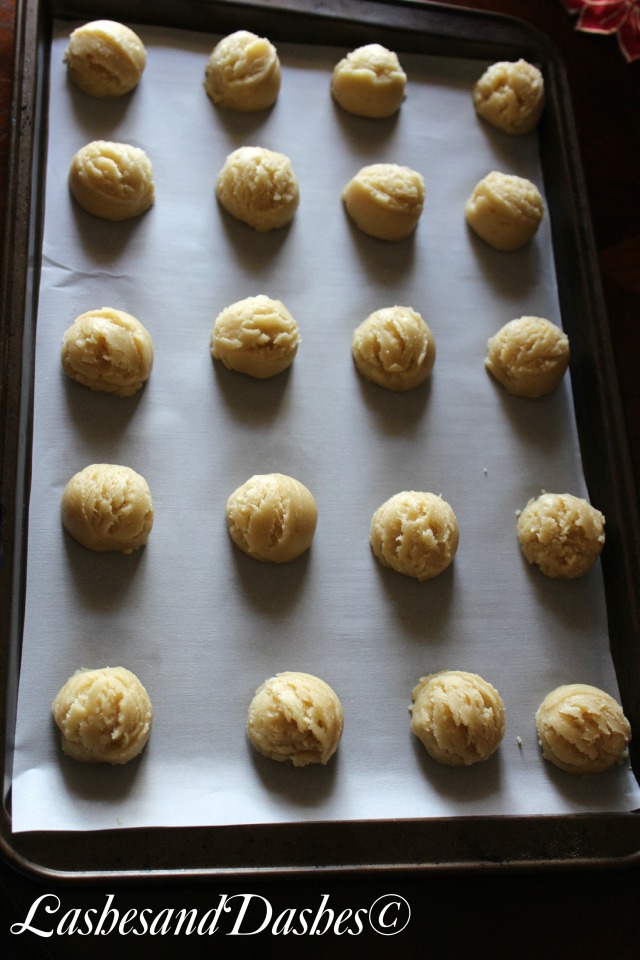
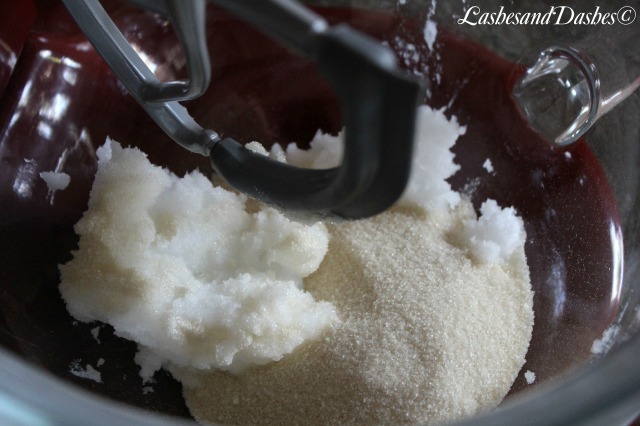
Preheat oven to 375°F. Line a baking sheet with parchment paper. Set aside. In measuring cup whisk together flour, baking powder and salt. In a stand mixer using flex edge beat Coconut Oil and sugar until light and fluffy. Add egg and almond extract, mixing until combined. Add flour mixture 1/2 cup at a time, mixing until completely combined. Using cookie scoop press dough into scoop making sure it is packed in scoop, release dough unto prepared baking sheet. Bake for 8 minutes. The cookies will not look browned or cooked, but they are! Remove from oven and let cookies rest on baking sheet for 5 minutes. Then transfer to a wire rack to cool completely.
Asian Chicken Lettuce Wraps

My family loves P.F. Chang’s Lettuce Wraps, I can remember the very first time I ever had them. I was around 8 and we were visiting friends in Colorado. I remember my girlfriends and I using our chop sticks as drum sticks (much to the dismay of our parents) while we were waiting for the wraps to come out.  With our love of P.F. Chang’s and not having one close by to our new home, I knew I had to come up with a recipe.  Hope you enjoy my version of the wraps as much as we did! 🙂

Chicken Lettuce Wraps via LashesandDashes

Ingredients
1 tablespoon olive oil
1 pound ground chicken
2 cloves garlic, minced
1 onion, diced finely
1/4 cup hoisin sauce
4 tablespoons Braggs Liquid Aminos
1 tablespoon rice wine vinegar
2 tablespoons freshly grated ginger
1 (8-ounce) can sliced water chestnuts, drained and diced
2 green onions, thinly sliced
Bunch of Romaine lettuce

Directions

Heat olive oil in a large saucepan over medium high heat. Add ground chicken and cook until browned, about 3-5 minutes, making sure to crumble the chicken as it cooks; drain excess fat. Stir in garlic, onion, hoisin sauce, soy sauce, rice wine vinegar,and ginger until onions have become translucent, about 1-2 minutes. Stir in chestnuts and green onions until tender, about 1-2 minutes.
To serve, spoon several tablespoons of the chicken mixture into the center of  lettuce leaf, taco-style or if you are like me onto your plate.  Enjoy!

Chateaubriand Recipe

Chateaubriand via LashesandDashes

The finished product.

For Mothers Day here in the US,  I made Chateaubriand, My parents had Chateaubriand the night they were engaged. so it was very special for my Mom. For my first ever traditional French meal I think it turned out wonderful. I made all of the sauces homemade, you can find the recipe Here. I know I will be making this dish again for special occasions! Chateaubriand is not a difficult meal if you follow the recipe.

Chateaubriand via LashesandDashes

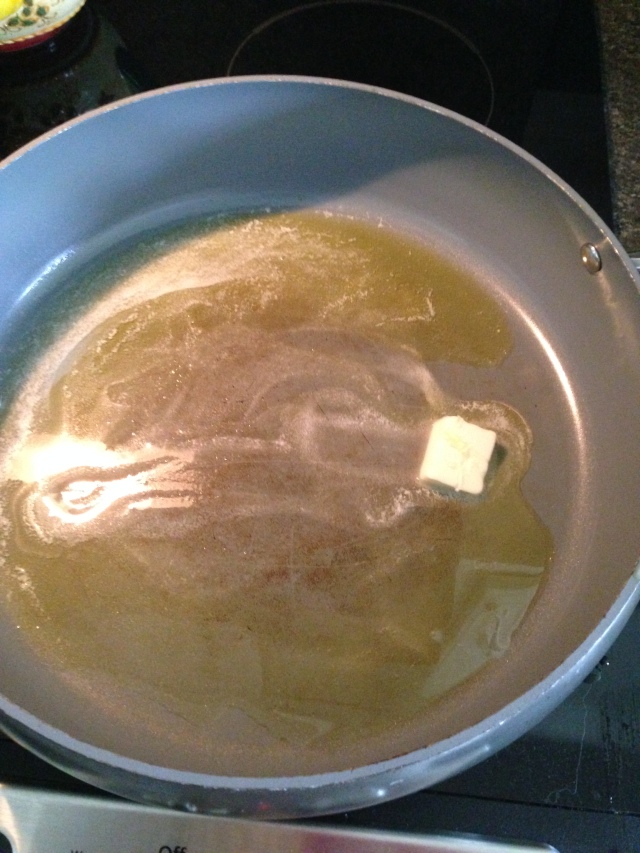
Melting the butter.

Chateaubriand via LashesandDashes

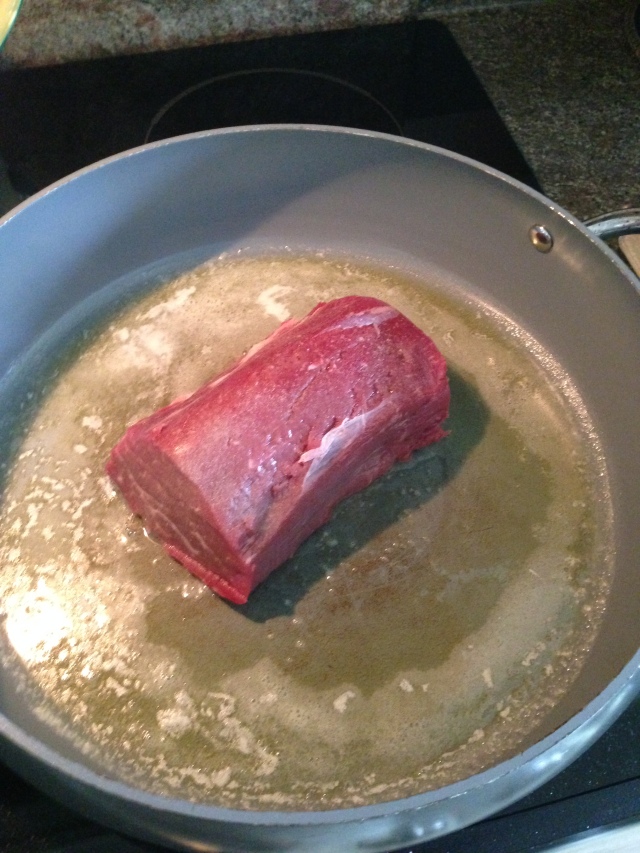
Searing the meat.

Chateaubriand via LashesandDashes

Searing the meat on all sides.

Chateaubriand via LashesandDashes

The meat placed on a rack in my pan, ready to go in the oven.

Chateaubriand via LashesandDashes

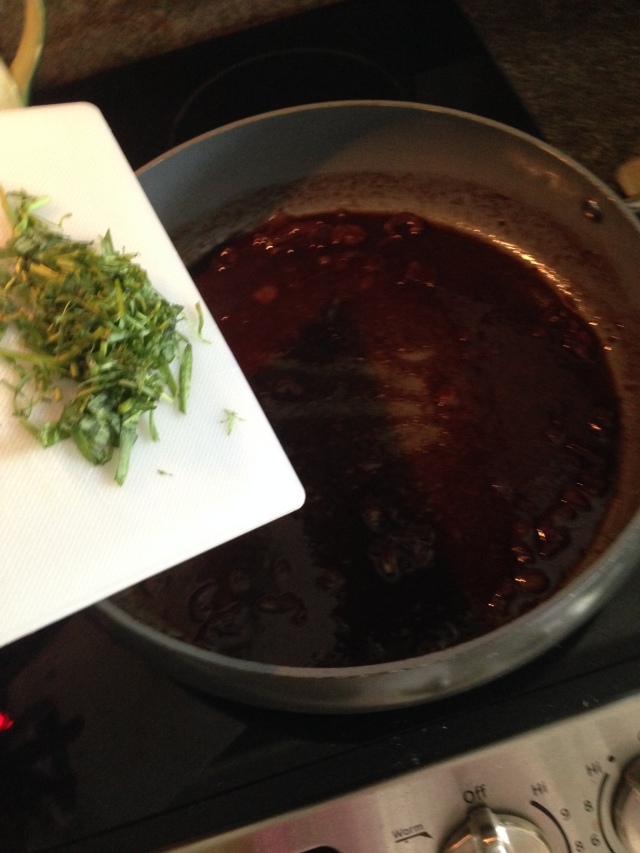
Chopping the tarragon.

Chateaubriand via LashesandDashes

The meat after cooking in the oven.

Chateaubriand via LashesandDashes

Adding in the shallots.

Chateaubriand via LashesandDashes

Sauteing the shallots.

Chateaubriand via LashesandDashes

Adding in the red wine.

Chateaubriand via LashesandDashes

Adding in the Demi-Glace.

Chateaubriand via LashesandDashes

Tarragon being added in.

Chateaubriand via LashesandDashes

Ingredients

1 thick, center cut tenderloin, approximately 1 pound

2 tablespoons unsalted butter

2 tablespoons olive oil

Salt and freshly ground black pepper, to taste

1 shallot, minced

4 oz. full-bodied red wine

4 oz. Demi glace

1-tablespoon butter, softened

2 teaspoons minced fresh tarragon

Whole tarragon leaves, for garnish

Directions

Preheat your oven to 375º F. Liberally sprinkle salt and pepper on the meat. Preheat an oven-safe heavy skillet or saute pan over medium-high heat. Depending on your stove, this could take 4 or 5 minutes. Add the butter and oil to the pan. When the butter stops foaming, place meat in pan.With tongs, turn the meat and continue searing. If the meat sticks to the pan, leave it for another few seconds. When the sear is complete, the meat will release on its own, so be gentle and patient. Keep an eye on the heat, you may need to adjust it up or down to maintain a good “sizzle ‘ without burning the meat. Remove the meat from the pan, and place an oven-safe rack in the cooking pan. Put the meat on the rack and roast in the oven until the meat has reached an internal temperature of 125º F if you want your meat more on the rare side. I cooked the meat for 25 minutes. Put the meat on a warmed platter to rest for about 15 minutes. The temperature will continue to rise, and your meat will be a perfect medium well. While the meat is resting, prepare the sauce. You should have plenty of oil/butter left in the cooking pan. Place the pan over medium heat – careful, it has been in the oven. Make sure you have an oven mitt, because the handle can burn you. Add the minced shallot and saute until translucent, but not browned. Add the red wine. Turn the heat up to medium high and reduce by half. Add the demi-glace to the pan and reduce for a couple of minutes until the mixture is somewhat syrupy. Taste for seasonings, and add salt and pepper if necessary. Stir in the minced tarragon and remove from the heat. Swirl in the softened butter right before serving. This will help to further thicken the sauce and impart a lovely sheen. We sliced the meat in the kitchen but the traditional preparation would be to slice the meat at the table. I severed this dish with piped mash potatoes but you can use any other side you wish.


Classic French Sauces.

I made Chateaubriand a few weeks ago for my Mom on Mother’s Day. I made these two sauces for it. Both of these sauces are simple to make and are wonderful on their own as well as combined to make other sauces. First I made Espagnole Sauce which is the most time consuming of the two, the Demi-Glace uses all of the Espagnole Sauce. We had some of the Demi-Glace Sauce left after I made the Chateaubriand, so the next day I served it along with baked pork chops, it was wonderful!  These sauces will be made again and again in my house, they are so easy to make and really add something to whatever dish you are making. Check out the Chateaubriand Recipe Here.

French Sauces via LashesandDashes

Melting the butter.

French Sauces via LashesandDashes

Skimming the foam off the top of the melted butter.

French Sauces via LashesandDashes

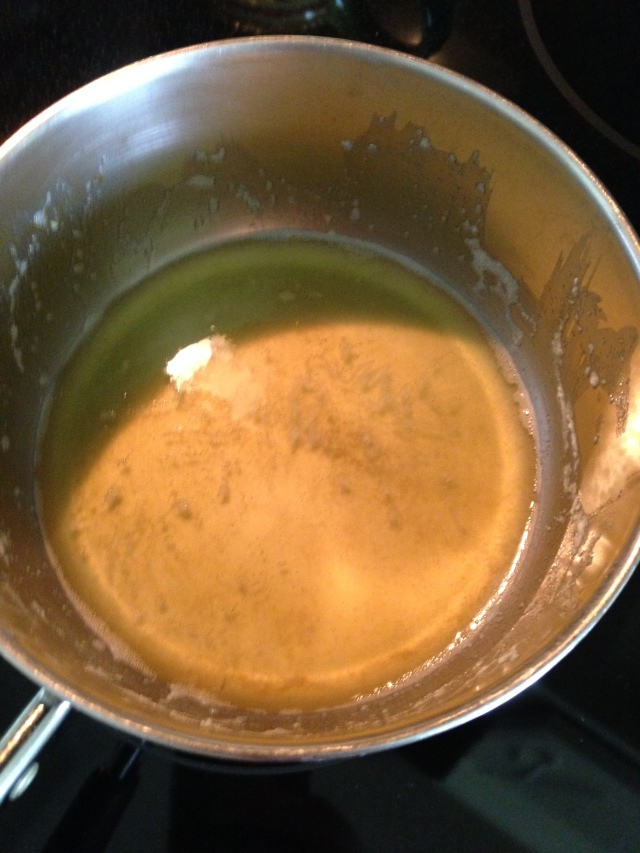
The clarified butter.

French Sauces via LashesandDashes

The milk solids next to the clarified butter.

French Sauces via LashesandDashes

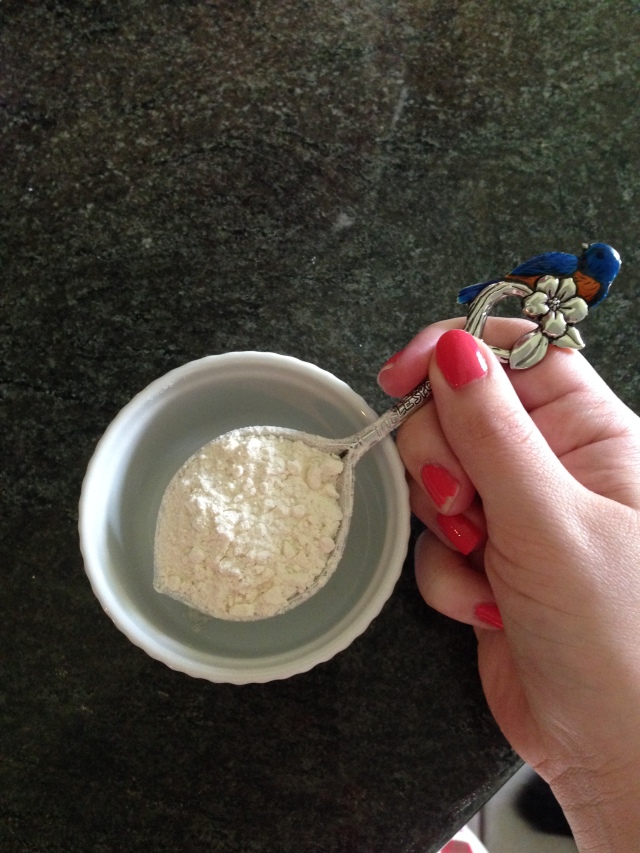
Measuring the flour.

French Sauces via LashesandDashes

Measuring the Clarified Butter.

French Sauces via LashesandDashes

Adding the Clarified Butter to my Stock Pot.

French Sauces via LashesandDashes

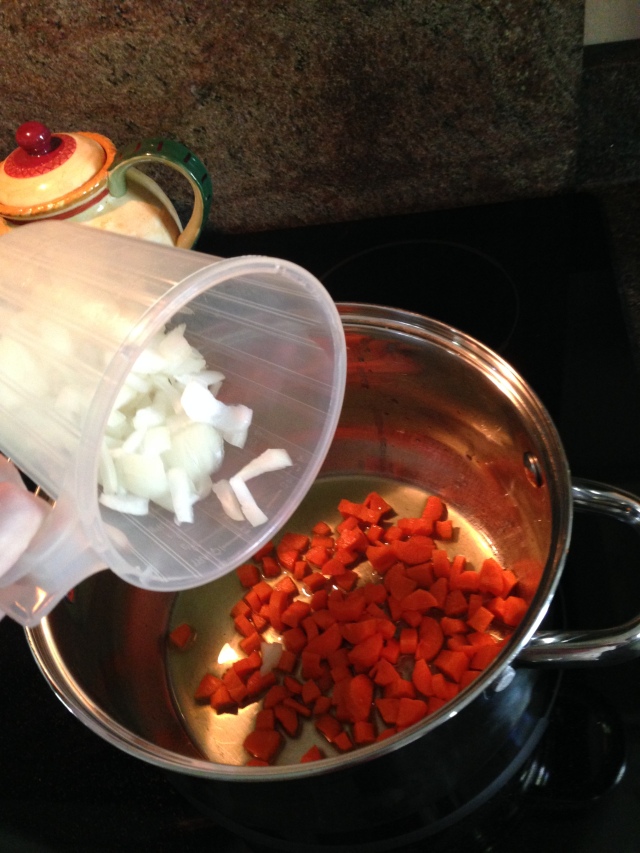
Adding in the chopped carrots.

French Sauces via LashesandDashes

Adding in the onions.

French Sauces via LashesandDashes

Sauteing the mirepoix.

French Sauces via LashesandDashes

Making the Sachet.

French Sauces via LashesandDashes

Adding in the flour to make the roux.

French Sauces via LashesandDashes

Whisking in the Stock.

French Sauces via LashesandDashes

Whisking in the tomato paste.

French Sauces via LashesandDashes

The Espagnole Sauce after adding in the paste.

French Sauces via LashesandDashes

The Espagnole Sauce coming to a boil.

French Sauces via LashesandDashes

Adding in the sachet.

French Sauces via LashesandDashes

Straining the sauce.

French Sauces via LashesandDashes

Adding in the Brown Stock to the Espagnole Sauce to make the Demi-Glace.

French Sauces via LashesandDashes

My little Sous Chef, Arianna.

French Sauces via LashesandDashes

The Demi-Glace boiling.

French Sauces via LashesandDashes

The Demi-Glace.


Clarified Butter

Ingredients 

1 stick unsalted butter

Directions

Heat butter over low heat in heavy bottom sauce pan. Simmer until foam starts to rise to the top of the butter. Begin to skim foam off top of butter, continue to skim foam. The foam is milk solids, keep the milk solids, they are great in mashed potatoes. Remove the clarified butter from heat. Clarified Butter can be kept in fridge for a month.

Espagnole sauce

Ingredients

1 cup onions, diced
½ cup carrots, diced
½ cup celery, diced
2 oz clarified butter
2 oz all-purpose flour
6 cups brown stock
¼ cup tomato purée

For Sachet:
1 bay leaf

½ tsp dried thyme

3-4 fresh parsley stems

4 inch square piece of cheese cloth

1 inch wide  piece of cheese cloth

To make sachet place parsley, thyme, and bay leaf in middle of square cheese cloth. Tie the sachet together with inch wide cheese cloth.

Directions

In a heavy-bottomed saucepan, place clarified butter. Add the mirepoix and sauté for a few minutes until it’s lightly browned. (Mirepoix is just a fancy word for diced carrots, onions, and celery) Don’t let it burn, though. Whisk the flour into the mirepoix a little bit at a time, until it is fully incorporated and forms a thick paste or roux. Lower the heat and cook the roux for another five minutes or so, until it’s light brown. Don’t let it burn! The roux will have a slightly nutty aroma at this point. Using a wire whisk, slowly add the stock and tomato purée to the roux, whisking vigorously to make sure it’s free of lumps. Bring to a boil, lower heat, add the sachet and simmer for about 50 minutes or until the total volume has reduced by about one-third, stirring frequently to make sure the sauce doesn’t scorch at the bottom of the pan. Use a spoon to skim off any impurities that rise to the surface. Remove the sauce from the heat and retrieve the sachet. For an extra smooth consistency, carefully pour the sauce through a strainer. Serve hot. If not serving the sauce right away, keep it covered and warm until you’re ready to use it.

Makes about 1 quart of Espagnole sauce.

Demi-Glace

Ingredients 

2 cups brown stock
2 cups brown sauce (espagnole)
——– For Optional Sachet: ——–
1 bay leaf
½ tsp dried thyme
3-4 fresh parsley stems

Directions

Combine the Espagnole sauce and the brown stock in a heavy-bottomed saucepan. Bring to a boil over medium-high heat, then lower heat to a simmer, add the sachet and reduce for about 20 minutes or until the total volume has reduced by half. Remove pan from heat and retrieve the sachet. Carefully pour the demi-glace through a wire mesh strainer lined with a piece of cheesecloth if you used a sachet.

Makes about 1 pint of demi-glace.

Mothers Day Almond Cake with Almond Frosting

Today I bring you the requested Mother’s Day Cake. Last year for Mother’s Day I made a “Semi-Homemade” Cake but this year I went all out, completely homemade cake and frosting. You may have guessed by all of the different post that contain Almond that my mom is a huge fan of almond flavor! My mom grew up on Hough Bakery, her grandma would always get cakes from there on special occasions. Hough Bakery used almond flavoring in their cakes, I think this is where my mom got her love of almond flavor! I used a classic recipe from Cooks Illustrated but changed it up a bit, here is the original recipe Cake. I used a Classic Buttercream frosting from Savory Sweet Life, here is the original recipe Frosting, I also changed this one to reflect the almond flavor. I frosted the cake in Petal Effect but instead of using a round tip I used a large star tip.

Almond Cake with Almond Buttercream via LashesandDashes

My favorite type of cake flour.

Almond Cake with Almond Buttercream via LashesandDashes

Cake pan traced onto the parchment paper.

Almond Cake with Almond Buttercream via LashesandDashes

Greased cake round and pan.

Almond Cake with Almond Buttercream via LashesandDashes

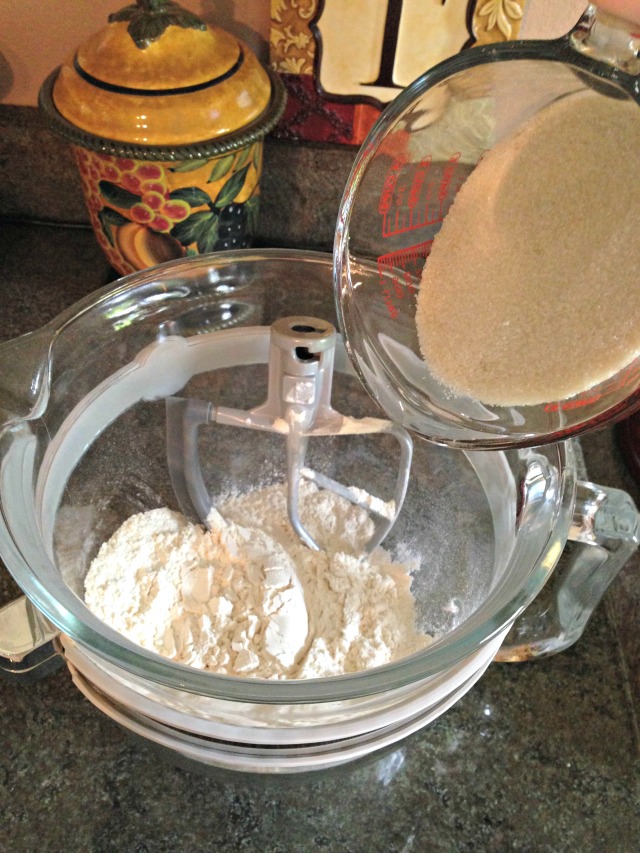
Adding in the sugar.

Almond Cake with Almond Buttercream via LashesandDashes

Adding in the baking powder.

Almond Cake with Almond Buttercream via LashesandDashes

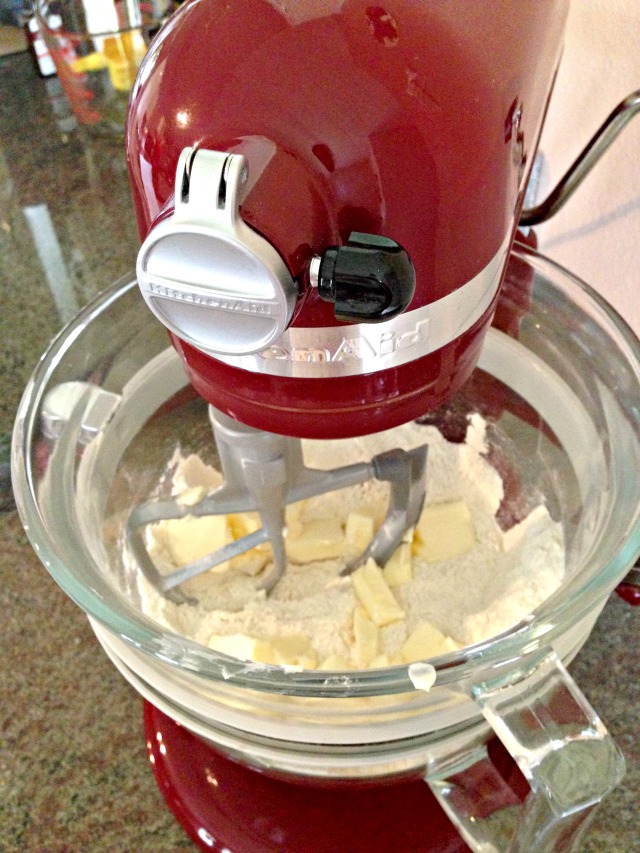
Cutting in the butter.

Almond Cake with Almond Buttercream via LashesandDashes

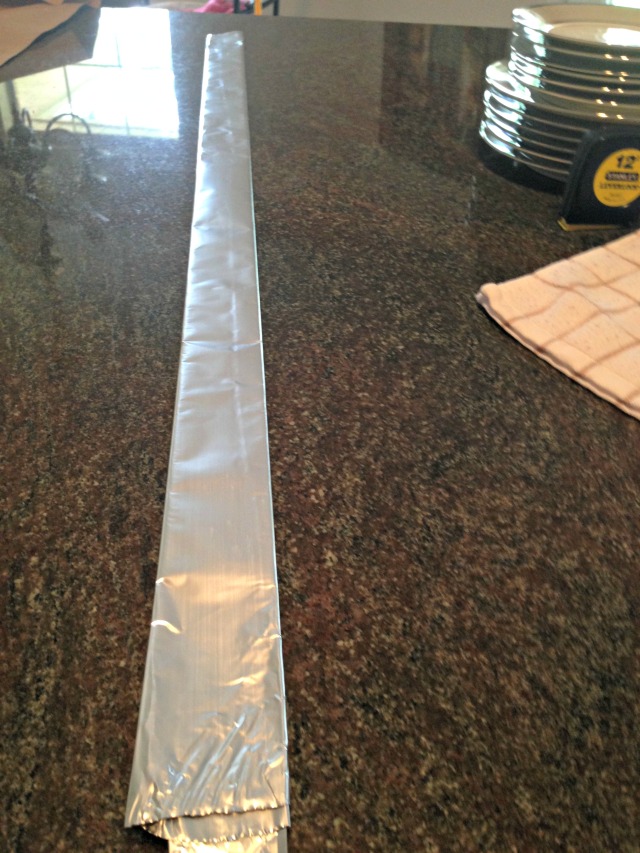
The wet newspaper in the foil.

Almond Cake with Almond Buttercream via LashesandDashes

Folding up the newspaper in the foil.

Almond Cake with Almond Buttercream via LashesandDashes

The folded newspaper and foil.

Almond Cake with Almond Buttercream via LashesandDashes

Creaming the butter into the flour and sugar mixture.

Almond Cake with Almond Buttercream via LashesandDashes

Mixing in the almond extract.

Almond Cake with Almond Buttercream via LashesandDashes

Adding in the egg white mixture.

Almond Cake with Almond Buttercream via LashesandDashes

Adding in the last of egg white mixture.

Almond Cake with Almond Buttercream via LashesandDashes

The cake ring formed around the cake pan.

Almond Cake with Almond Buttercream via LashesandDashes

The batter poured into the cake pan.

Almond Cake with Almond Buttercream via LashesandDashes

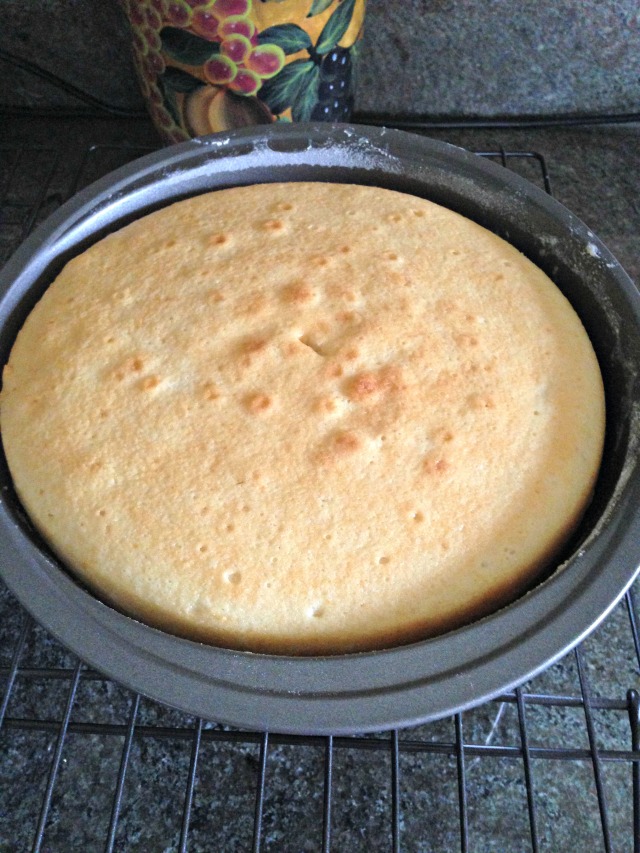
The baked cake.

Almond Cake with Almond Buttercream via LashesandDashes

The cake turned out of the pan.

Almond Cake with Almond Buttercream via LashesandDashes

The parchment paper peeling off.

Almond Cake with Almond Buttercream via LashesandDashes

The softened butter.

Almond Cake with Almond Buttercream via LashesandDashes

Creaming the butter.

Almond Cake with Almond Buttercream via LashesandDashes

Spreading the frosting on the first layer.

Almond Cake with Almond Buttercream via LashesandDashes

The second layer on top.

Almond Cake with Almond Buttercream via LashesandDashes

Using the frosting to fill in the gaps in between the layers.

Almond Cake with Almond Buttercream via LashesandDashes

Using a thin layer of frosting for the top of the cake.

Almond Cake with Almond Buttercream via LashesandDashes

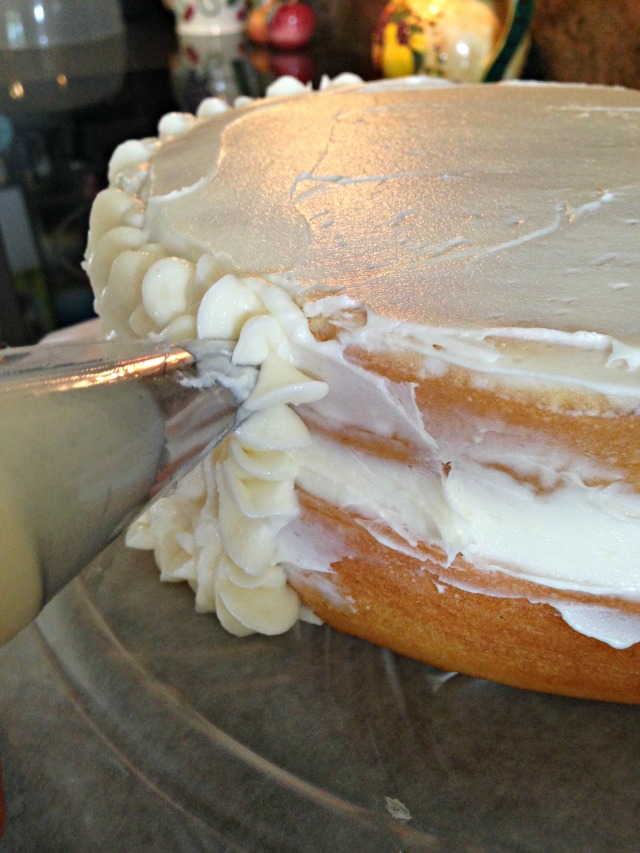
Piping three large stars onto the side of the cake.

Almond Cake with Almond Buttercream via LashesandDashes

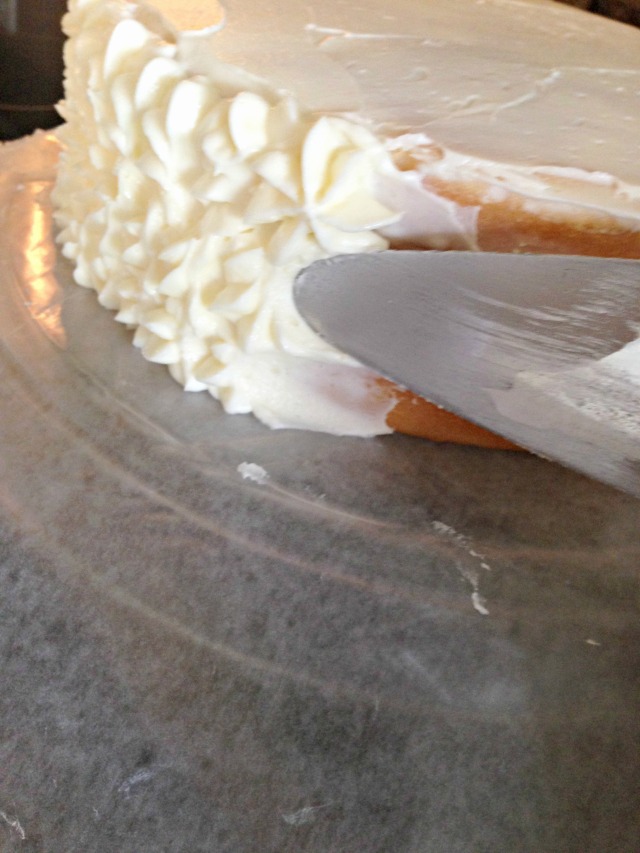
Use a spatula to drag half of the star towards yourself.

Almond Cake with Almond Buttercream via LashesandDashes

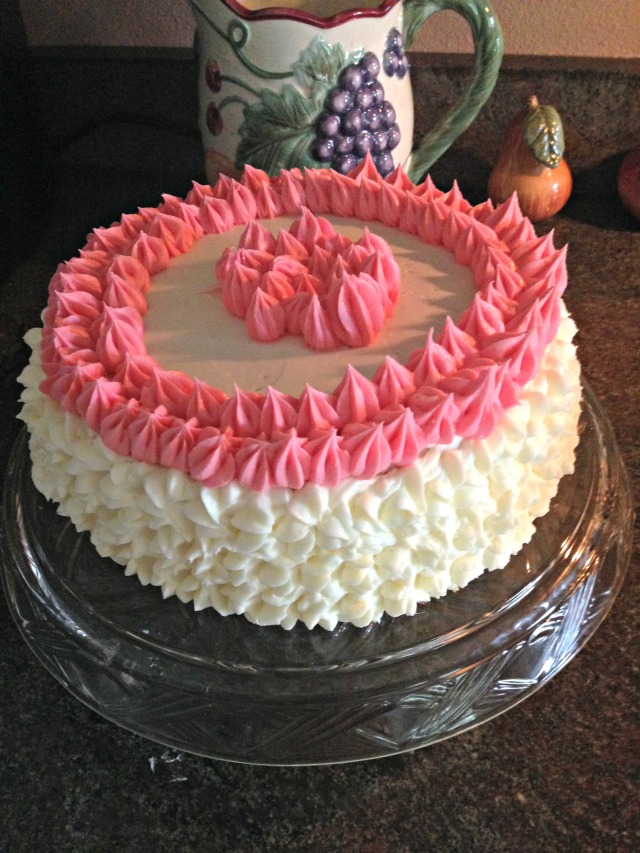
The finished cake.

Almond Cake with Almond Buttercream via LashesandDashes

The cut cake.

Almond Cake with Almond Buttercream via LashesandDashes

Almond Cake with Almond Buttercream via LashesandDashes

Ingredients 

2 1/4 cups cake flour (9 ounces), plus more for dusting the pans
1 cup whole milk, at room temperature
6 large egg whites (3/4 cup), at room temperature
3 teaspoons almond extract
1 3/4 cups granulated sugar (12 1/4 ounces)
4 teaspoons baking powder
1 teaspoon table salt
12 tablespoons unsalted butter (1 1/2 sticks), softened but still cool
Directions
Set oven rack in middle position. (If oven is too small to cook both layers on a single rack, set racks in upper-middle and lower-middle positions.) Heat oven to 350 degrees. Spray two 9-inch round cake pans with nonstick
cooking spray; line the bottoms with parchment or waxed paper rounds. Spray the paper rounds, dust the pans with flour, and invert pans and tap sharply to remove excess flour.
Pour milk, egg whites, and extracts into 2-cup glass measuring cup, and mix with fork until blended.
Mix cake flour, sugar, baking powder, and salt in bowl of electric mixer at slow speed. Add butter; continue beating at slow speed until mixture resembles moist crumbs, with no powdery streaks remaining.
Add all but 1/2 cup of milk mixture to crumbs and beat at medium speed (or high speed if using handheld mixer) for 1 1/2 minutes. Add remaining 1/2 cup of milk mixture
and beat 30 seconds more. Stop mixer and scrape sides of bowl. Return mixer to medium (or high) speed and beat 20 seconds longer.
Divide batter evenly between two prepared cake pans; using rubber spatula, spread batter to pan walls and smooth tops. Arrange pans at least 3 inches from the oven walls and 3 inches apart. (If oven is small, place pans on separate racks in staggered fashion to allow for air circulation.) Bake until thin skewer or toothpick inserted
in the center comes out clean, 23 to 25 minutes.
Let cakes rest in pans for 3 minutes. Loosen from sides of pans with a knife, if necessary, and invert onto wire racks. Let cool completely.
Frosting:  Ingredients

2 cups unsalted butter (4 sticks or 1 pound), softened (but not melted!) Ideal texture should be like ice cream.
6-8 cups confectioners (powdered) sugar, SIFTED
2 tablespoons almond extract
up to 4 tablespoons milk or heavy cream

Directions

Beat butter for a few minutes with a mixer with flex edge beater on medium speed. Add 2 cups of powdered sugar and turn your mixer on the lowest speed (so the sugar doesn’t blow everywhere) continue adding another 4 cups gradually until the sugar has been incorporated with the butter. Increase mixer speed to medium and add almond extract and 2 tablespoons of cream and beat for 3 minutes. If your frosting needs a more stiff consistency, add remaining sugar. If your frosting needs to be thinned out, add remaining cream 1 tablespoon at a time.

Before you place the first cooled cake layer on the cake stand place small strips of wax paper around the edge of the cake stand. Place a layer of frosting on the top of the first layer. Place your second cake layer on top, put a thin layer of frosting between the two layers of cake to fill the gap. At this point you can crumb coat the cake, I did not. Place your frosting in a piping bag, if you choose to do more then one color separate the frosting now. Pipe on three stars of frosting , using a thin spatula drag half of the star towards you. Continue this process until you have completely frosted the sides of your cake. To finish the petal effect pipe on three more stars but do not drag half of the stars. I choose to pipe pink stars on the top of the cake.

Riches, A Cookie from the 1930’s

Riches, A cookie from the 1930's via LashesandDashes

A couple of weeks ago I went to several garage sales and picked up some wonderful vintage cookbooks, one of those I bought is The Cookie Book by Nellie Watts. From what I can tell it was printed in the 1930’s, it has  wood for the book covers. It is so interesting reading through the book and seeing how women use to bake. I decided to make a cookie called Riches, the cookie is a bit crisp with a almond flavoring and the topping is somewhat like a cinnamon meringue. The full recipe makes 4 dozen cookie a bit to much for my family to consume so I halved the recipe, I have given both recipes. The eggs were a bit tricky to half but I mixed together a whole egg then poured half of it into the batter. I did the same with the half a yolk. Next time I make these cookies I will pipe on the filling for a more presentable cookie.

The Cookie Book via LashesandDashes


Riches, A cookie from the 1930's via LashesandDashes

Softening the butter.

Riches, A cookie from the 1930's via LashesandDashes

The eggs mixed.

Riches, A cookie from the 1930's via LashesandDashes

Adding the egg into the creamed butter and sugar.

Riches, A cookie from the 1930's via LashesandDashes

The mixed dough.

Riches, A cookie from the 1930's via LashesandDashes

The dough ready to be formed into a disk.

Riches, A cookie from the 1930's via LashesandDashes

The disk of dough wrapped in plastic wrap ready to be chilled.


Riches, A cookie from the 1930's via LashesandDashes

The egg whites and cinnamon.

Riches, A cookie from the 1930's via LashesandDashes

The chilled dough ready to be rolled out.

Riches, A cookie from the 1930's via LashesandDashes

The rolled out dough cut into circles.

Riches, A cookie from the 1930's via LashesandDashes

The cookies on parchment lined baking sheet.

Riches, A cookie from the 1930's via LashesandDashes

The topped cookies ready to bake.


Full Recipe (4 dz)

1 1/2 cups butter

2 cups sugar

1 egg plus one extra yolk

1/4 tsp almond extract

4 cups flour

1/8 tsp salt

Topping

1 egg white

2 TBS sugar

1/2 tsp cinnamon

2/3 cup shredded almond


Half Recipe

3/4 cup butter (1 and half sticks)

1 cup sugar

half of an egg plus half yolk

1/4 tsp almond extract

2 cups flour

1/8 tsp salt

Topping

1 egg white

1 TBS sugar

1/4 tsp cinnamon

1/3 cup shredded almond


Directions

Cream butter with sugar. Add eggs, almond extract, flour and salt in given order. Form dough into a disk then wrap dough in plastic wrap then chill dough until firm. Roll and cut into two inch circles. In center of each circle place half teaspoon of the topping made by beating the egg white till stiff and adding the sugar and cinnamon. If you choose add shredded almonds and bake in a 400 degree oven for 7-10 minutes, mine took 7.

Spectacular Spaghetti Pie

Spectacular Spaghetti Pie via LashesandDashes

Before we get into today’s recipe I thought I would mention the devastating flood that we had this week. I knew we were going to get storms and there was a possibility of a tornado but I never thought flooding!  We received over 26 inches of rain! We live on a small lake which came into our house, our street also flooded and almost came up to our front door. We where so blessed for having minimal damage but so many in Pensacola and the surrounding area have lost everything! Please keep Pensacola in your prayers!

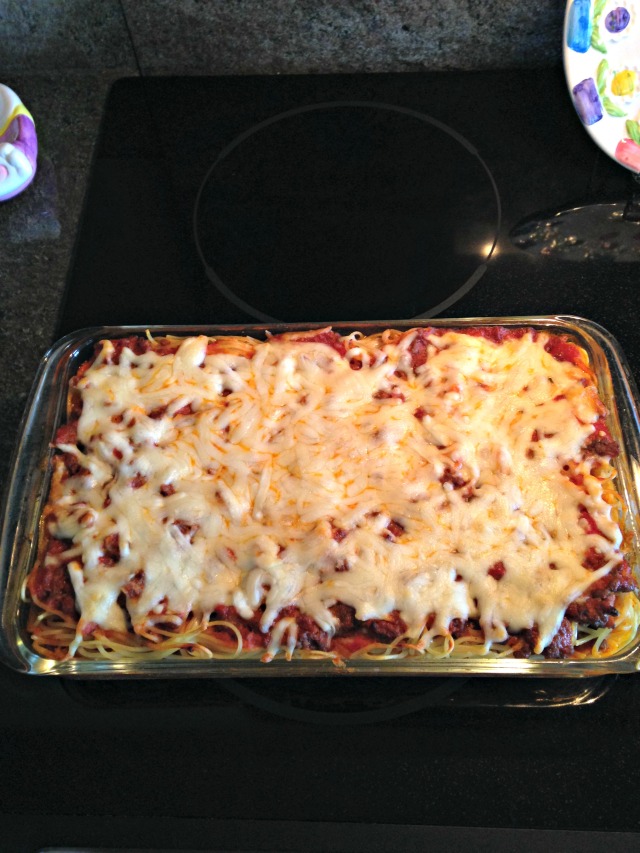
Today I bring you Spectacular Spaghetti Pie, this dish is so simple to make and it tastes absolutely delish! We made it one day last week in between running errands and let me just say this will be added to our regular dishes for sure! We used whipped cream cheese but you are welcome to use regular cream cheese, next time I make it I think I will use lower fat cream cheese and sour cream to make it a bit healthier.


Spectacular Spaghetti Pie via LashesandDashes

Cooking the pasta.

Spectacular Spaghetti Pie via LashesandDashes

Browning the ground meat.

Spectacular Spaghetti Pie via LashesandDashes

Our pasta sauce.

Spectacular Spaghetti Pie via LashesandDashes

Pre-heating the oven.

Spectacular Spaghetti Pie via LashesandDashes

Adding the sauce into the ground meat.

Spectacular Spaghetti Pie via LashesandDashes

The sour cream and cream cheese.

Spectacular Spaghetti Pie via LashesandDashes

Our cooked pasta in the greased pan.

Spectacular Spaghetti Pie via LashesandDashes

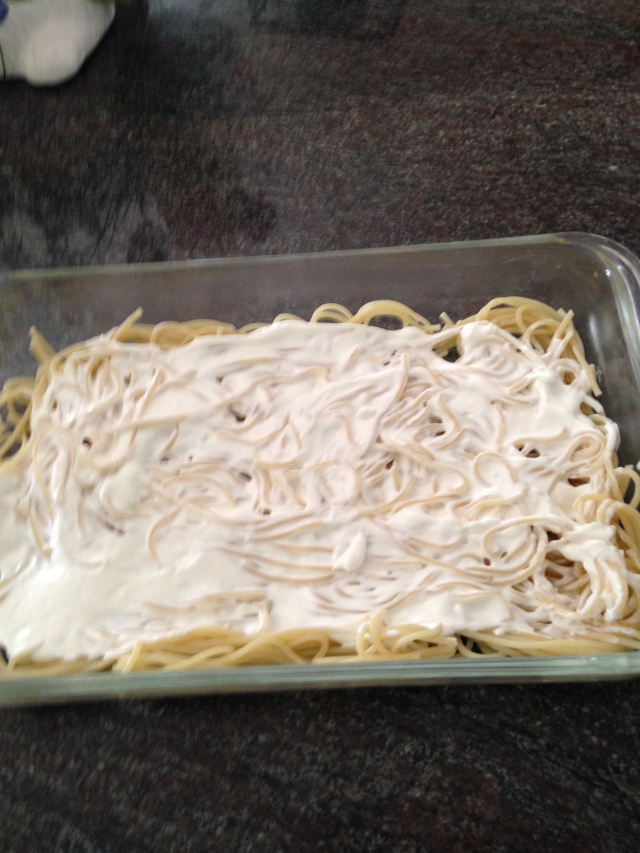
The cream cheese mixture spread on the spaghetti.

Spectacular Spaghetti Pie via LashesandDashes

Our cheese.

Spectacular Spaghetti Pie via LashesandDashes

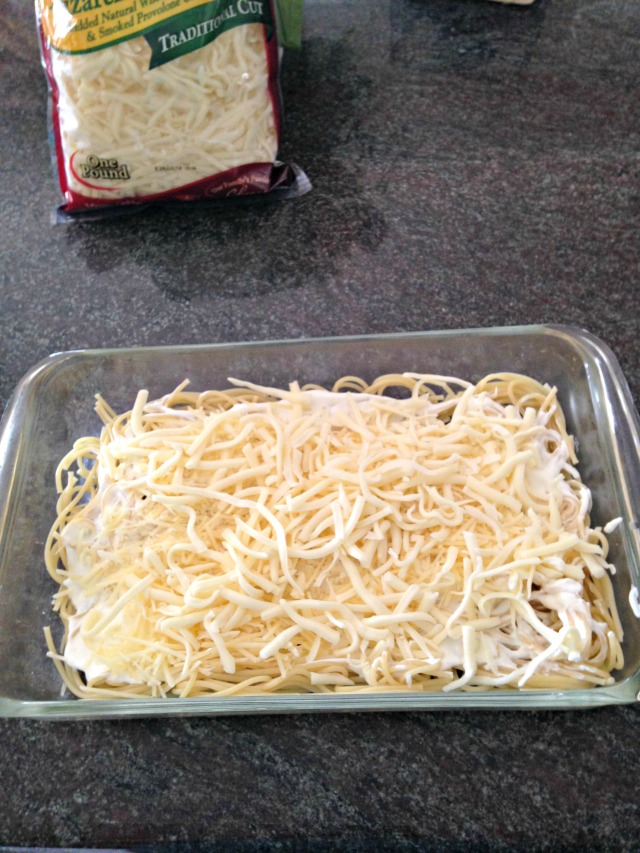
The cheese spread on top.

Spectacular Spaghetti Pie via LashesandDashes

The rest of the sauce spread on top.


8 oz spaghetti noodles

8 oz jar of your favorite spaghetti sauce

1 pound ground sirloin

1/2 cup chopped onion

4 oz cream cheese softened

1/4 cup of sour cream

2 heaping cups of Mozzarella Parmesan Mixed cheese

Grease a 9 x 13 pan and Preheat oven to 350. Boil your spaghetti noodles until Al dente and drain. Brown your ground meat, drain off grease. Mix together your cream cheese and sour cream. Add your spaghetti sauce to your ground meat. Layer half of your noodles on the bottom of your greased pan, top with 2/3 cup of the shredded mozzarella and Parmesan cheese and spread on the cream cheese mixture, top with remaining noodles and then spread your spaghetti sauce with ground beef over top. Bake for 30 minutes, remove from oven sprinkle the rest of the mozzarella cheese and Parmesan cheese blend on top bake for another 15 minutes until it’s brown and bubbly.

Happy Easter a Week Late with a Recipe for Two Desserts

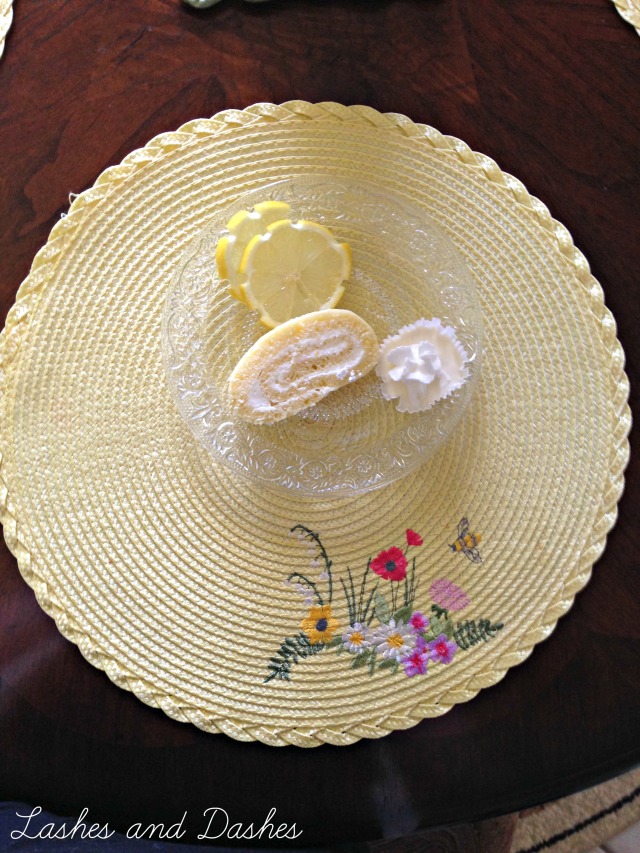
Lemon Roll Cake via LashesandDashes


Today I bring you my Easter desserts, a week too late. I wrote this post last Monday then life got in the way and I did not get to add the pictures till today. I hope you all had a wonderful Easter spent with Friends and Family celebrating our Saviors Resurrection! We had a wonderful low key Easter, we went to a Sunrise Service right on the beach which was amazing then we spent the afternoon eating dinner with dear friends at our house. Since I love making and eating desserts I offered to make them, I made a Lemon Roll Cake as well as Mini Lemon Cheesecakes. I got the idea to make the Lemon Roll from Crazy for Crust and from there just ran with it. Both desserts turned out wonderful and I know I will be making them many more times in the coming months. One of the reasons I love these desserts is they are so easy to make, the filling for the Lemon Roll is also the base for the Mini Cheesecakes. It is also very light and refreshing and would make a wonderful dessert for the hot summer months. I was actually only planning on making one dessert but then I had a lot of the filling left from the Lemon Roll Cake so I decided to make mini cheesecakes, I used Gingersnaps for my crust on the Mini Cheesecakes since I did not have any Gram Crackers on hand. I hope you all love these desserts as much as I do!


Lemon Roll Cake with Lemon Cheesecake Filling


Lemon Roll Cake via LashesandDashes

Whisking the dry ingredients together.

Lemon Roll Dessert via LashesandDashes

Whisking the eggs.

Lemon Roll Dessert via LashesandDashes

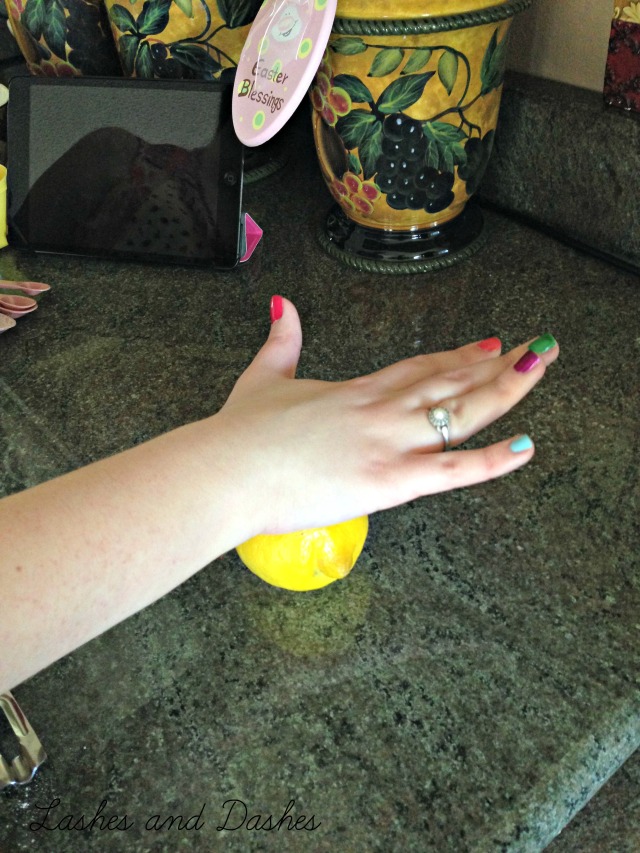
Rolling the lemon to release the juice.

Lemon Roll Dessert via LashesandDashes

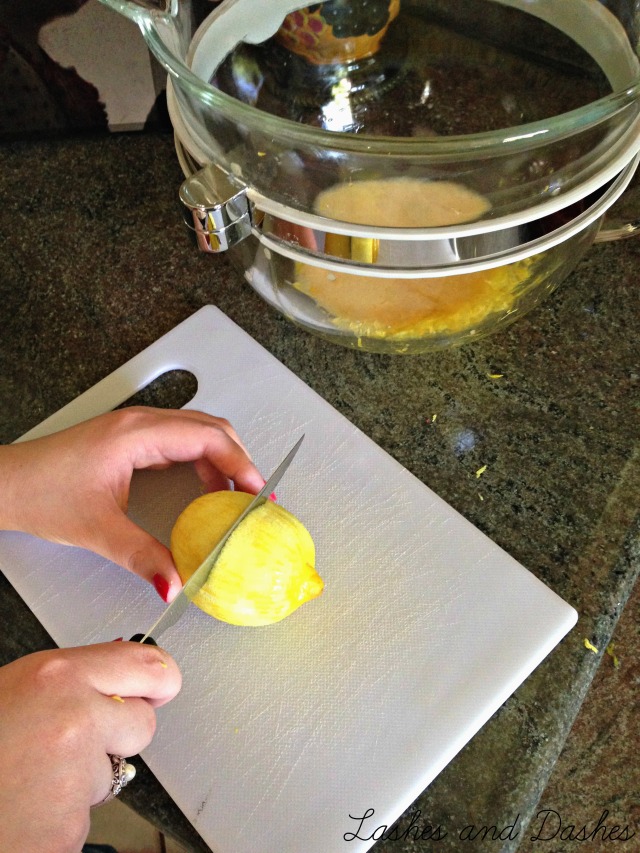
Zesting the Lemon.

Lemon Roll Dessert via LashesandDashes

Cutting the Lemon.

Lemon Roll Dessert via LashesandDashes

Juicing the Lemon.


Lemon Roll Dessert via LashesandDashes

Adding in the sugar.

Lemon Roll Dessert via LashesandDashes

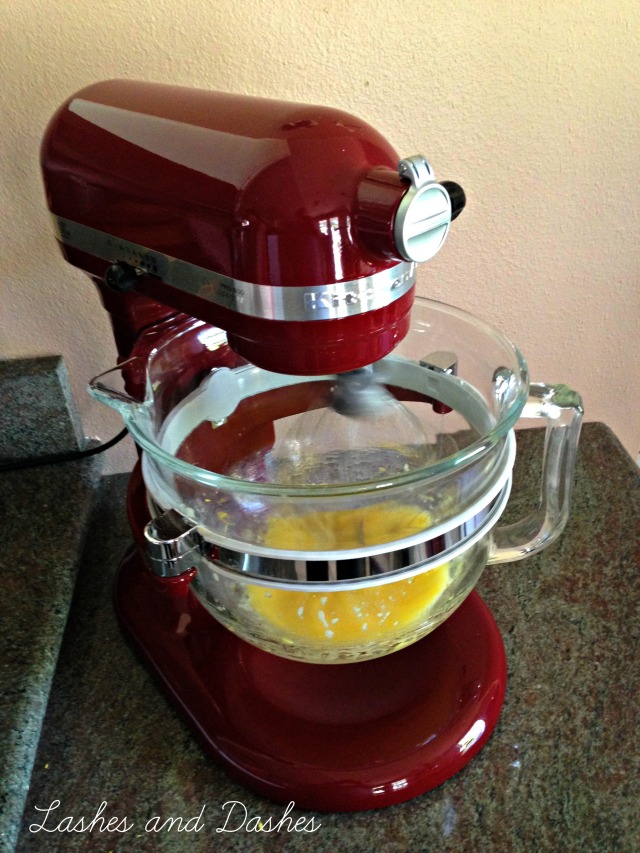
Mixing together all of the wet ingredients.

Lemon Roll Dessert via LashesandDashes

Adding in the flour.

Lemon Roll Dessert via LashesandDashes

Carefully spreading the batter into the pan.

Lemon Roll Dessert via LashesandDashes

Batter spread into the pan, thinly.
Lemon Roll Dessert via LashesandDashes

Quickly peeling the cake off of the wax paper.

Lemon Roll Dessert via LashesandDashes

The Lemon Roll off of the old wax paper and onto the new.

Lemon Roll Dessert via LashesandDashes

Rolling the cake so it can cool.

Lemon Roll Dessert via LashesandDashes

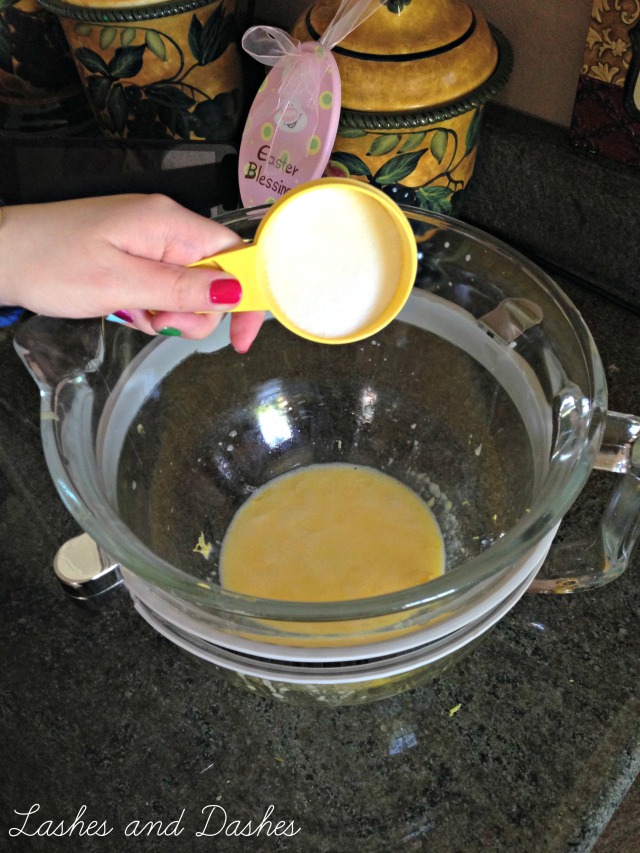
Adding the whipping cream into the ice cold mixing bowl.

Lemon Roll Dessert via LashesandDashes

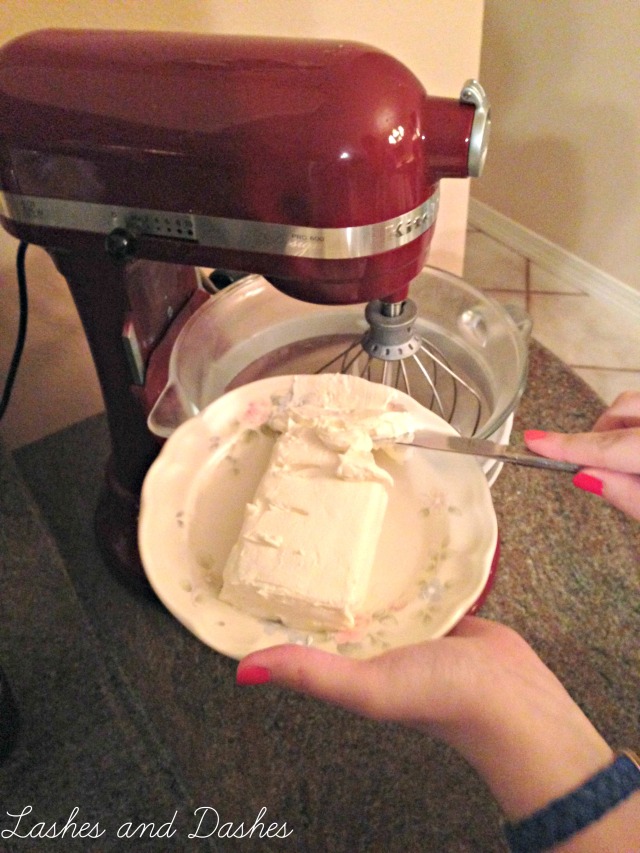
Adding in by small increments the softened cream cheese.

Lemon Roll Dessert via LashesandDashes

Adding in the powdered sugar and lemon extract.


Lemon Roll Dessert via LashesandDashes

The Lemon Cheesecake filling.

Lemon Roll Dessert via LashesandDashes

Spreading the filling on the lemon roll.

Lemon Roll Dessert via LashesandDashes

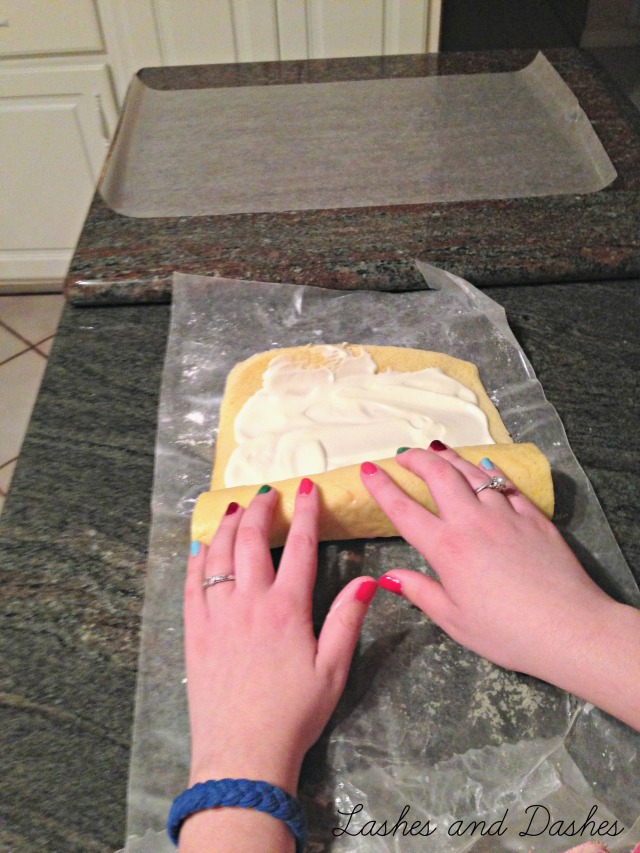
Re-rolling the Lemon Roll.

Lemon Roll Dessert via LashesandDashes

The Lemon Roll ready to be refrigerated.

Lemon Roll Dessert via LashesandDashes

Wrapping the Lemon Roll for the fridge.


Mini Lemon Cheesecakes

Mini Lemon Cheesecakes via LashesandDashes

Smashing the gingersnaps.

Mini Lemon Cheesecakes via LashesandDashes

Add the cookies crumbs to the mini muffin tin.

Mini Lemon Cheesecakes via LashesandDashes

Spooning the lemon cheesecake filling into mini muffin tin.


Mini Lemon Cheesecakes via LashesandDashes

The filled muffin tin ready to go into the freezer.

Lemon Roll Cake via LashesandDashes


Lemon Roll Cake
3 eggs
1/2 cup granulated sugar
2 tablespoons Lemon Juice (about 1 medium or 1/2 large)
Zest of one lemon
1/4 teaspoon salt
1 teaspoon baking powder
3/4 cup all purpose flour
Powdered sugar, to aid in rolling

Lemon Cheesecake Filling
1/2 cup whipping cream
8 oz cream cheese
5 TBS powdered sugar
1 tsp lemon extract
Directions
Preheat oven to 350 degrees. Line a jelly roll (10″x 15”) pan with wax paper. Beat eggs at high speed for 2 minutes, until frothy and dark yellow. Beat in sugar, lemon juice, and zest. Whisk together salt, baking powder, and flour. Stir into wet ingredients just until blended. Spread in prepared pan. Batter will be in a very thin layer and you will need to use a wooden spoon or spatula to spread it to all the corners of the pan. Bake for 7-9 minutes (mine took 7).
While the cake is baking, place wax paper larger then your jelly roll pan out on a large work surface. Sprinkle liberally with powdered sugar. As soon as the cake comes out of the oven, turn it over on the wax sprinkled with powdered sugar. Using a serrated knife carefully pull cake off of the wax paper it was cooked on. Working at the short end, fold the edge of the wax paper over the cake. Roll tightly, rolling up the cake into the wax paper. Let cool completely while rolled, at least one hour. While the cake is chilling, make the filling. Beat the heavy whipping cream and cream cheese until stiff peaks form. Beat in the lemon extract and powdered sugar. When cake is cool, carefully unroll the cake and place on a clean piece of wax paper. Spread the lemon whipped cream over the cake. (You should have filling left over) Gently but tightly, re-roll the cake and tape close. Chill until it firms up a bit, at least one hour or overnight. Slice and serve. Cake will last covered in the refrigerator for up to 4 days.

Lemon Cheesecake
5 gingersnaps
Leftover lemon filling
12 small muffin tin wrappers
Directions
Crumble 5 gingersnaps, Using the left over filling from the Lemon cake fill 12 small muffin cups. Freeze for several hours or overnight. Serve with small dollop of whipped cream.

Chicken Supreme

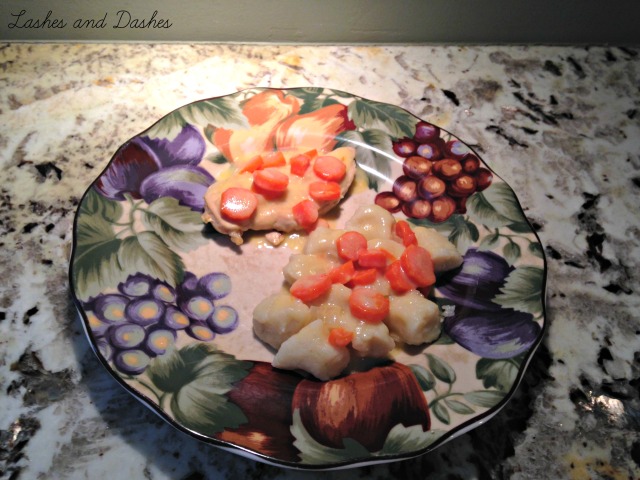
Chicken Supreme via LashesandDashes

Today I bring you a recipe that has been in the family for years, it is comfort food in my book! It is also the last dish I made in Georgia, yes I am a bit behind in my recipe blogging. I have been cooking here in Pensacola, just have not ventured to make any new recipes. I promise very soon I will be bringing you new recipes from my new kitchen.

Chicken Supreme via LashesandDashes

Chopped Carrots

Chicken Supreme via LashesandDashes

Chopped Onions.

Chicken Supreme via LashesandDashes

Sauteing the carrots and onions.

Chicken Supreme via LashesandDashes

Our chicken broth.

Chicken Supreme via LashesandDashes

Chicken broth added in and ready to finish cooking.

Chicken Supreme via LashesandDashes

Mixing together the flour and sour cream.

Chicken Supreme via LashesandDashes

Whisking in the sour cream mixture.


Ingredients

4 regular size carrots

3 chicken breast

about 2 cups of chicken broth

1/2 onion chopped finely

2 tablespoons of flour

8 ounces of sour cream

Directions

Slice your carrots thinly. Sauté your onions and your carrots in a little bit of olive oil. Move the onions and the carrots to the side of the pan, put in your chicken breast and brown on both sides. Add in 2 cups of chicken broth with the carrots and the onion on top of the chicken cover with the lid and cook until done. Once chicken is done remove from pan and keep warm. For the sauce: 2 tablespoons of flour mix into sour cream and slowly add in to the chicken broth mixture with onions and the carrots. Continue to mix until it is a smooth consistency, no lumps. If you would like a more liquid sauce add more chicken broth after you have mixed in the sour cream mixture. Serve over brown rice, couscous or potato gnocchi.
Moms Italian Pasta Bake

Mom's Italian Rigatoni Bake via Lashes and DashesToday I bring you my Mom’s Italian Pasta Bake, many years ago she cooked for a family and this was one of their most requested dishes! This dish taste great if you want to freeze it, you could also make a double batch. If you decide to freeze it do not add the cheese until ready to Bake.  I love this dish, it is truly a comfort food! It is also super easy to make, I think it is the shortest recipe I have ever posted!

Mom's Italian Rigatoni Bake via Lashes and Dashes

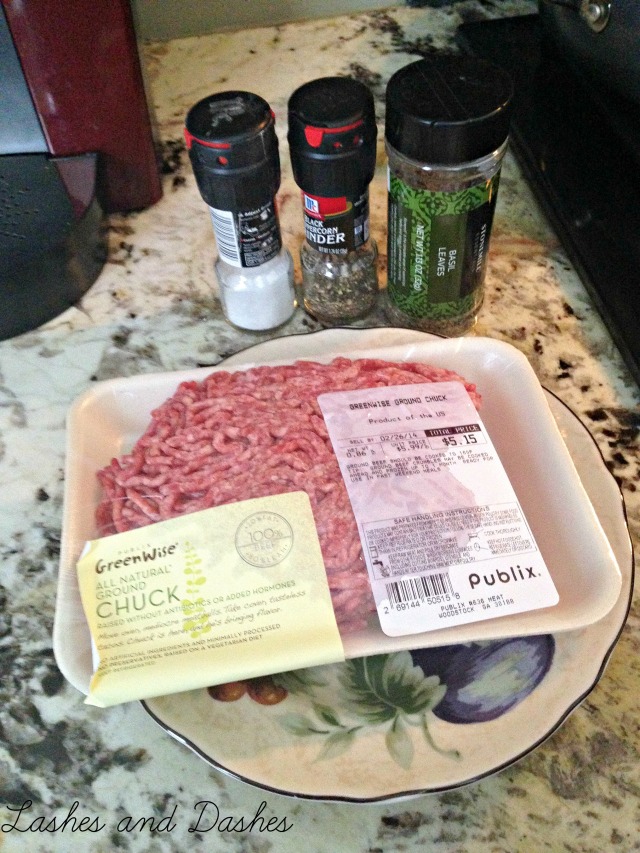
Ground Chuck and seasonings.

Mom's Italian Rigatoni Bake via Lashes and Dashes

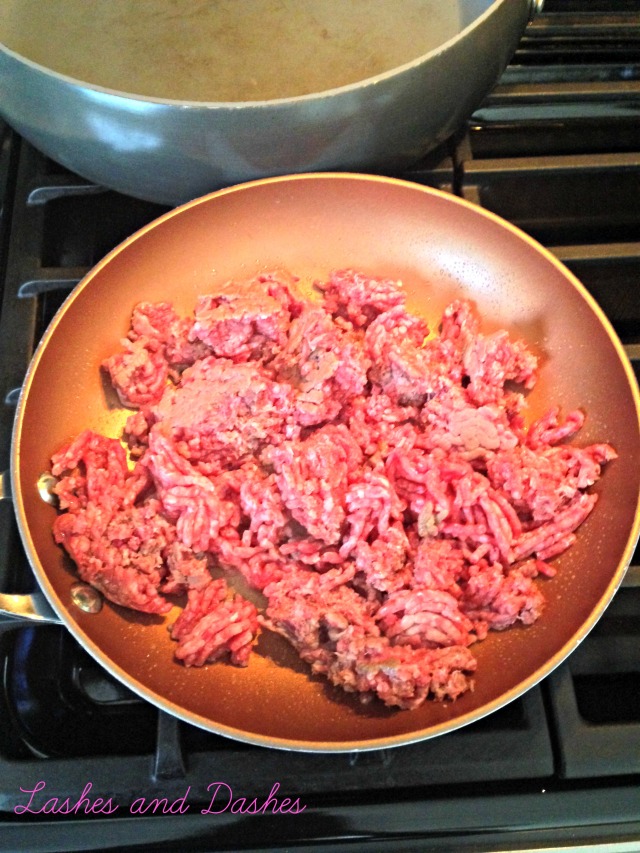
Browning the meat.

Mom's Italian Rigatoni Bake via Lashes and Dashes

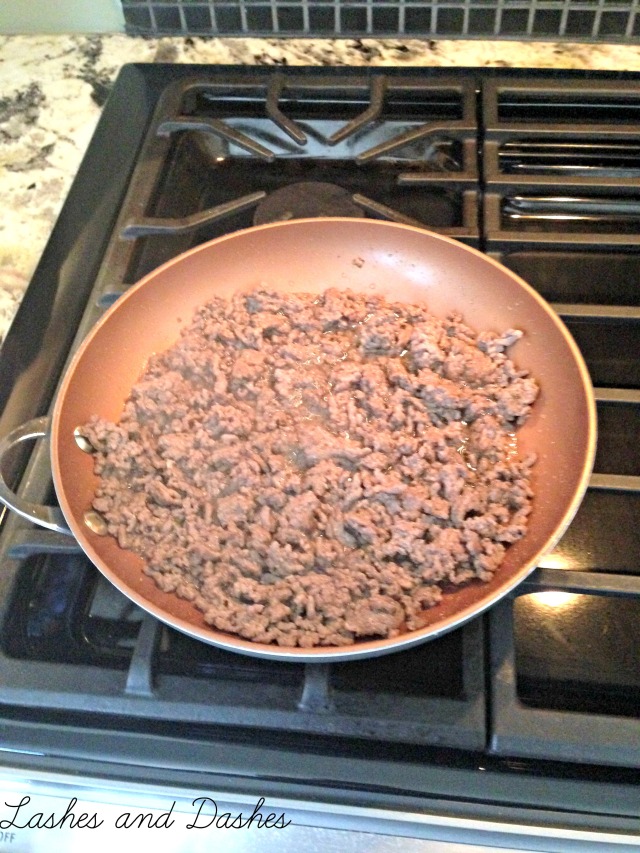
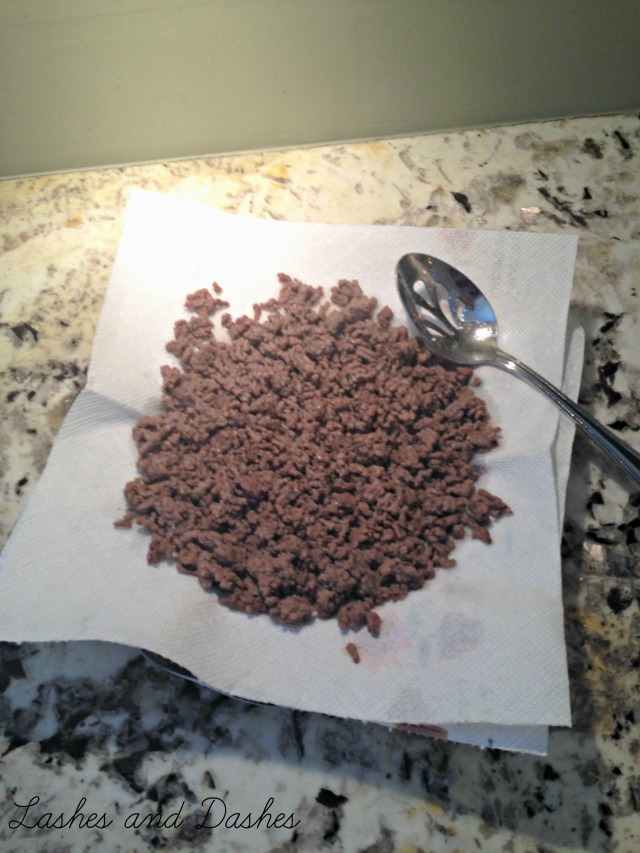
The browned meat ready to be drained.

Mom's Italian Rigatoni Bake via Lashes and Dashes

Our pasta of choice.

Mom's Italian Rigatoni Bake via Lashes and Dashes

Cooking the pasta.

Mom's Italian Rigatoni Bake via Lashes and Dashes

The drained meat ready to be mixed into the sauce.

Mom's Italian Rigatoni Bake via Lashes and Dashes

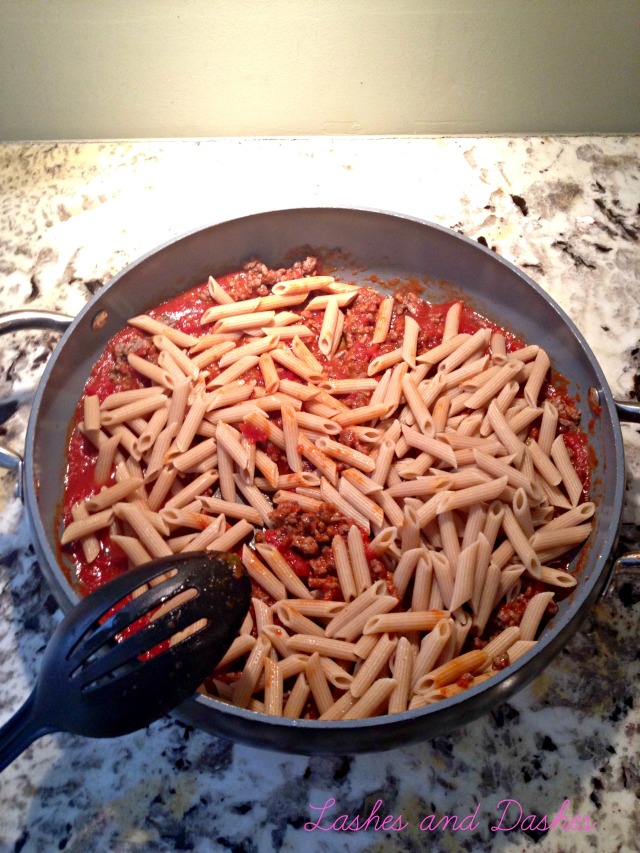
Pasta, Sauce and half of cheese mixed together.

Mom's Italian Rigatoni Bake via Lashes and Dashes

Pasta Bake with the rest of the cheese on top and ready to go into oven.

Ingredients

1 pound of ground sirloin

16 ounce box Muellers Penne Pasta

24 oz jar of your favorite pasta sauce

Italian spices of choice

8 oz mozzarella cheese

4 oz Parmesan cheese

Directions

Brown the sirloin in a large pan. Once meat is cooked drain off any fat on a paper towel. Cook pasta until Al Dente. Put into baking dish of choice, add in sauce as well as the meat and the cheese, mix until blended and bake it at 350 for 30 minutes or until all the cheese is melted and top is golden brown.