Glitter Ornament Tutorial

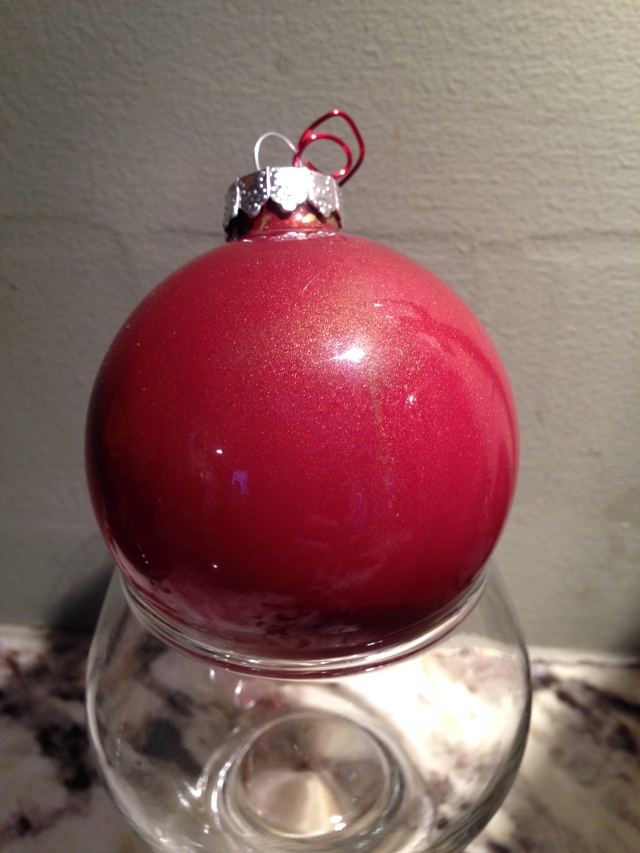
Glitter Ornaments via LashesandDashesFor the past two years I have made Glitter Christmas Ornaments for my Family and Friends. The Ornaments are super easy to make once you get the hang of it! This year on a couple of the ornaments I combined paint and glitter. I also painted faces on a few to make Rudolph the Red Nose Reindeer, and Frosty. Excuse the messy table, it is my crafting table that has seen better days.

Supplies

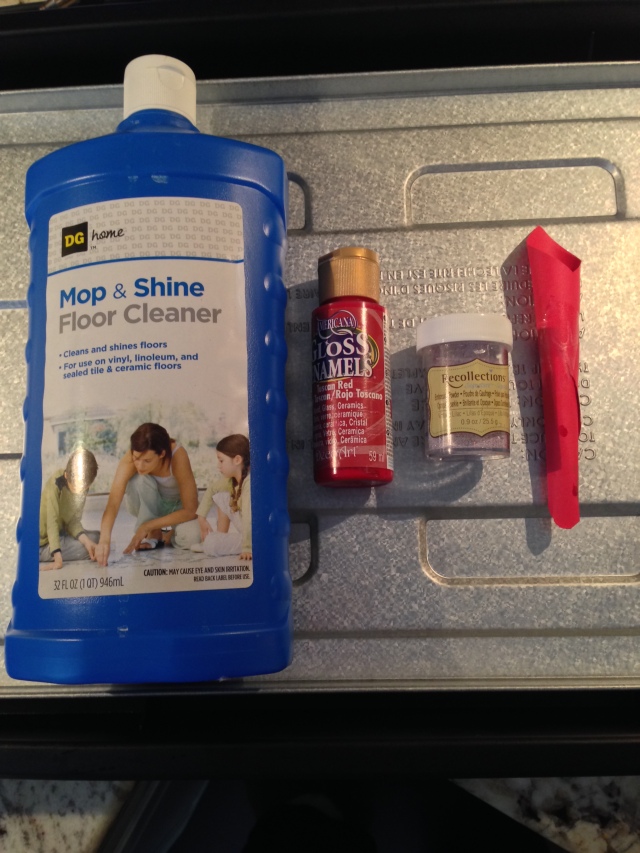
Floor Wax (I bought mine at Dollar General, but you could also use Pledge Floor Care Multi Surface Finish.)

Fine Glitter

Glass Ornaments

Funnel

Instructions 

Swish water around the glass ornaments, place the ornaments upside down, let dry completely. Place a drop of the floor cleaner in the dry ornaments, swirl the cleaner around the whole ornament, let the excess cleaner drop out of the ornament into the bottle of cleaner. Using a funnel (I made my own out of paper) pour in the glitter, turn the ornament so that the glitter covers the entire ornament. Let the excess glitter fall back into the container of glitter. Place the top with the hook back on ornament. After this step you can either finish or you can add the finishing touches. A few adjustments I made, was using the floor wax as a paint thinner, I mixed together a bit of acrylic paint and the floor wax. Using the same technique I did with the glitter, swirl the paint around the ornament until the ornament is covered. Play around with the paint, you could mix together two colors, or add glitter.
Glitter Christmas Ornament via LashesandDashes

Glitter Christmas Ornament via LashesandDashes

Glitter Christmas Ornament via LashesandDashes

Glitter Christmas Ornament via LashesandDashes

Glitter Christmas Ornament via LashesandDashes

Glitter Christmas Ornament via LashesandDashes

Glitter Christmas Ornament via LashesandDashes

Non- Alcoholic Christmas Sangria

Non- Alcoholic Sangria via LashesandDashesTraditionally we have Punch every Christmas but this year we all decided to try something completely different, Non- Alcoholic Christmas Sangria. I halved the recipe and made a few adjustments to the recipe by The Kitchn . The drink was a big hit in my opinion, I would most definitely make it again! The Sangria was very refreshing, I think it would be great for a hot Summer day! Below I will post the recipe I used, be sure to check out The Kitchn blog and tell her I sent you 🙂

Serves 4

1 cups boiling water
1 black tea bag (or 1 teaspoon loose-leaf tea in an infuser)
1/4 cup sugar
1 1/2 cups pomegranate juice
1/2 cup freshly squeezed orange juice
1 orange, sliced into thin rounds
1 lemon, sliced into thin rounds
1 lime, sliced into thin rounds
1 half apple, cored and cut into 1/2-inch chunks
1 1/2 cups carbonated water

Directions

Pour boiling water over tea bag and steep for 5 minutes. Discard tea bag and stir in sugar to dissolve.In a large jar or pitcher, combine tea, pomegranate juice, orange juice, orange, lemon, lime, and apple. Refrigerate for at least 1 hour and preferably overnight. Just before serving, stir in carbonated water. Serve in glasses over ice.

Cranberry Salad

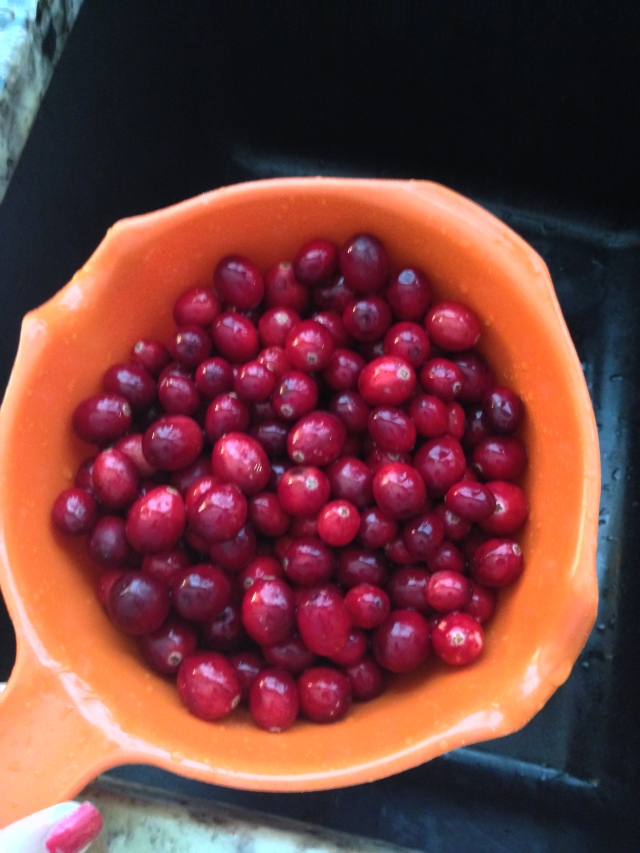
Cranberry Salad via LashesandDashesCranberry Salad has been in our family archives for many years.  My mom received the recipe from an Old Tea Room in Medina, Oh.  when they were closing. She was absolutely thrilled that they gave the “secret” recipe to her.  She has made this for many years now at Thanksgiving and Christmas , we all look forward to it! This year my Mom gave me the honors of making it for Christmas dinner. Whenever we take this Salad to a gathering it is gone within minutes! The Cranberry Salad is the perfect pairing with Turkey or really any meat of your choice.  If your looking for a light refreshing dessert this would be perfect! If you have a sweet tooth be sure to make the topping for the Salad, we did not use the topping this year since we were having the salad with dinner. The Salad also freezes wonderfully, but if you do decide to make the topping be sure to make it fresh when you serve the salad.  The recipe serves 10-12 people.  Enjoy!!

Cranberry Salad via LashesandDashes

Cranberry Salad via LashesandDashes

Cranberry Salad via LashesandDashes

Cranberry Salad via LashesandDashes

Cranberry Salad via LashesandDashes

Ingredients
2 bags fresh cranberries
3 oz package Cherry Jello, blended with 1 cup boiling water, cooled to room temp
5 Granny Smith apples, peeled
Finely grated peel of 1 orange
1 1/2 cups granulated sugar
20 oz can crushed pineapple, well drained
1 cup mandarin orange sections well drained

Directions
Wash the cranberries, using a food processor coarsely chop the cranberries. Once you have chopped all of the cranberries place them in a large fridge safe container. Coarsely chop the peeled apples, the place in the container. Pour the pineapple and mandarin oranges into the container. Mix together all of the ingredients. Refrigerate the Salad overnight. Serve chilled.

Topping Ingredients
1 package cream cheese softened
Small jar marshmallow cream
2 TBS orange juice

Mix together the above ingredients. Refrigerate until ready to serve. Place dollop of topping upon each serving of Cranberry Salad.

Christmas Place Settings

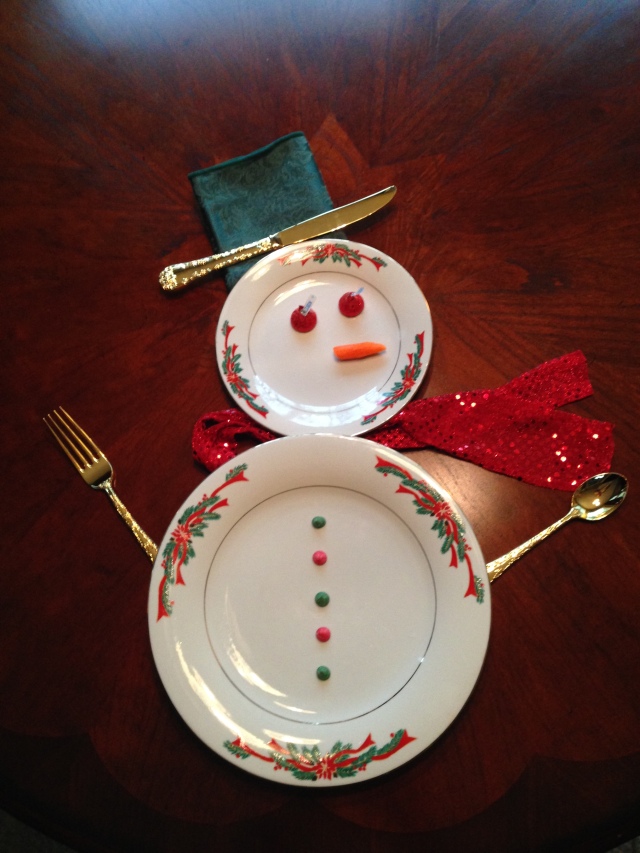
Christmas Place Setting via LashesandDashesAt our House my Mom always makes Christmas so special with every detail covered. One of the things she likes to do is make beautiful place settings for our table. This year she asked for my help with some new ideas. Below are three ideas for the Place Settings, I have included two variations for each Setting. When my Mom sets the table for a special occasion she includes a favor for our Guests, just a little extra something special.

Christmas Place Settings via LashesandDashes

For this place setting you will need 1 Dinner Plate, 1 Bread Plate, 1 Cloth Napkin folded into a Square, Gold Silverware, 2 Hershey Kisses still wrapped, 1 Baby Carrot, 5 Chocolate Chips in Christmas Colors, 1 Piece of Red Fabric for Scarf.

I saw a Place Setting Similar to this on Pinterest and decided to do my own take on it.

Christmas Place Setting via LashesandDashes

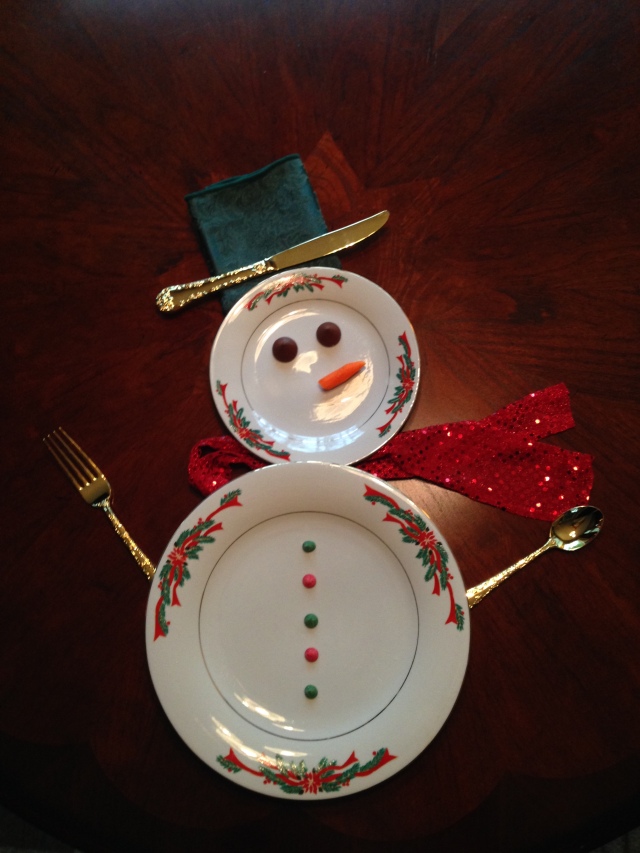
This Place setting is the same as above but with one small adjustment. For this place setting you will need 1 Dinner Plate, 1 Bread Plate, 1 Cloth Napkin folded into a Square, Gold Silverware, 2 Hershey Kisses unwrapped, 1 Baby Carrot, 6 Chocolate Chips in Christmas Colors, 1 Piece of Red Fabric for Scarf.

The variation for this setting is a very simple one, just unwrap the Hershey Kisses.

Christmas Place Setting via LashesandDashes

For this Place Setting you will need: 1 Bread Plate, 1 Dinner Plate, 1 Christmas Glass, 1 Place Mat in Shape of Christmas Ornament, 1 Cloth Napkin in Shape of Christmas Tree, Silverware

Before this year I had never seen a napkin folded into a tree, it is the hottest trend for Place Settings this year. I will post the how to video below.

Christmas Place Setting via LashesandDashes

Same as above except we put Hershey Kisses in the Folds of the Napkin

The Hershey Kisses would be our Favor on this Place Setting.

Christmas Place Setting via LashesandDashes

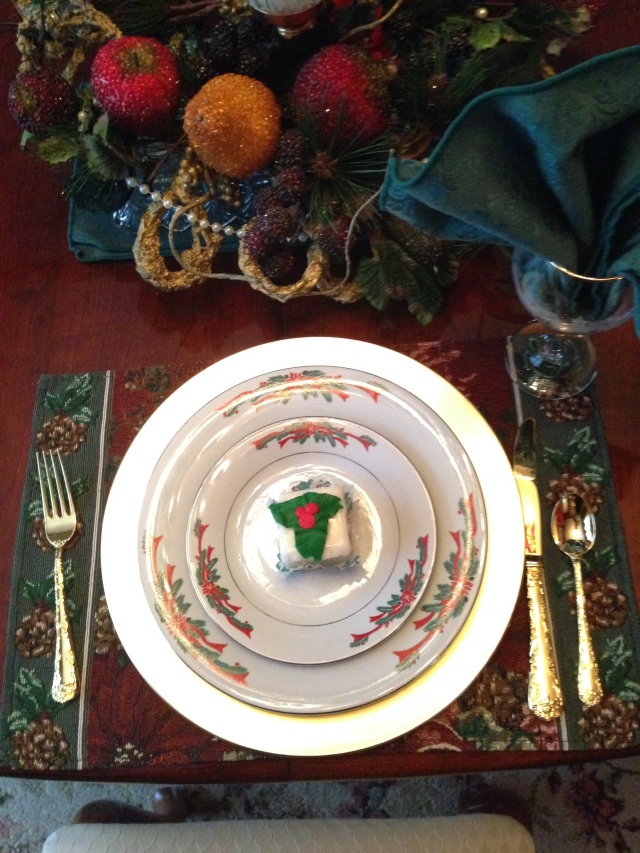
For this Setting you will need: 1 Charger Plate, 1 Dinner Plate, 1 Bread Plate, 1 Petit Four, Gold Silverware, 1 Christmas Goblet, 1 Napkin folded into a Fan.

My mom taught me how to fold the napkin into a fan, I will post the tutorial below.

Christmas Place Settings via LashesandDashes

For this Setting you will need: 1 Charger Plate, 1 Dinner Plate, 1 Bread Plate, 1 Petit Four, Gold Silverware, 1 Christmas Goblet, 1 Napkin folded into a Fan 1 Christmas Place Mat.

The Petit Four is from our favorite Bakery in Louisville Heitzman Traditional Bakery and Deli, before we headed back home we picked up several Petit Fours for Christmas and froze them so they would be fresh.  You could also use a favorite cookie or other yummy goody of your choice.

From Our Table to Your Table we wish you the Merrist of Christmas!

Merry Christmas from LashesandDashes

Gaylord Opryland Hotel

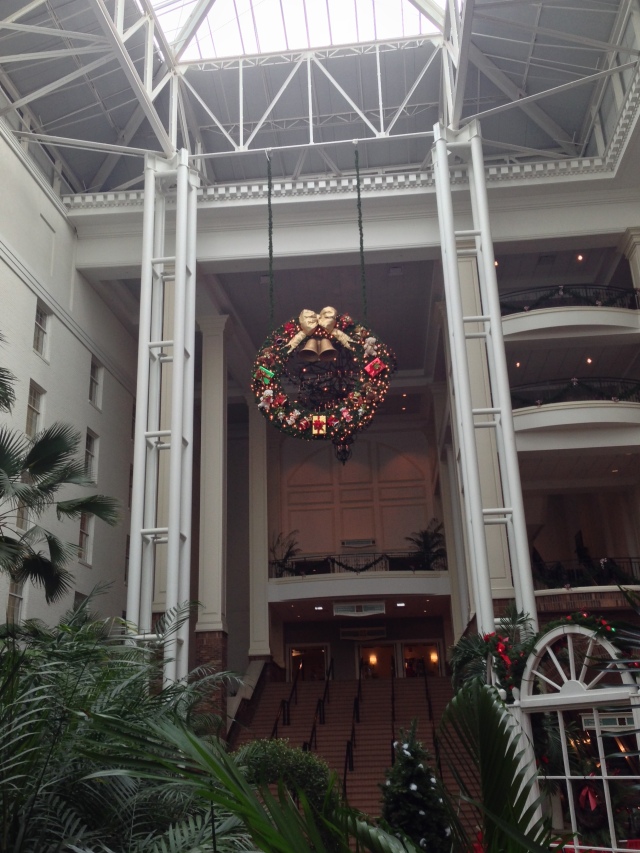
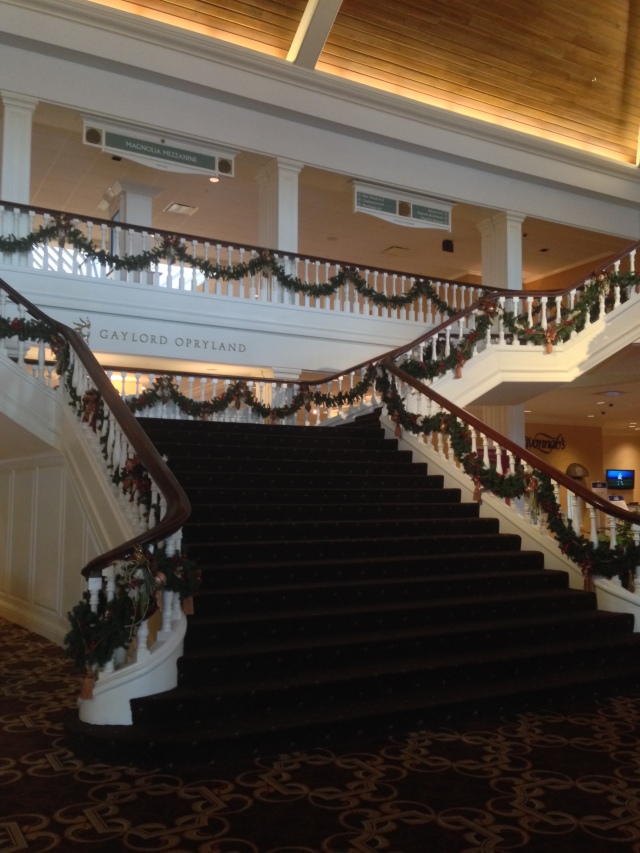
Gaylord Opryland Hotel via LashesandDashesOn our way home from Louisville we decided to stop by the Gaylord Opryland Hotel to view their “A Country Christmas”, I have posted the Video Promo below.

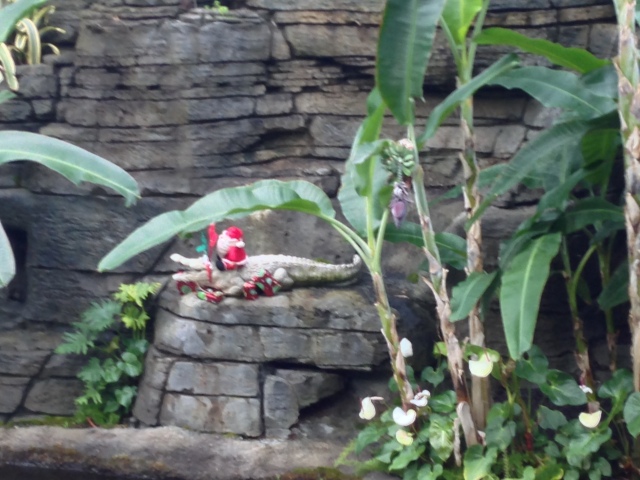
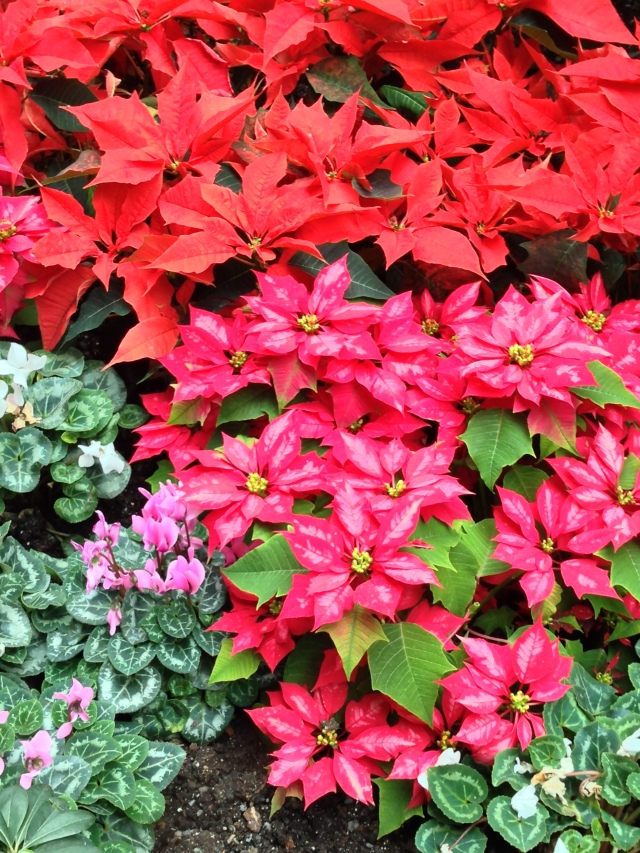
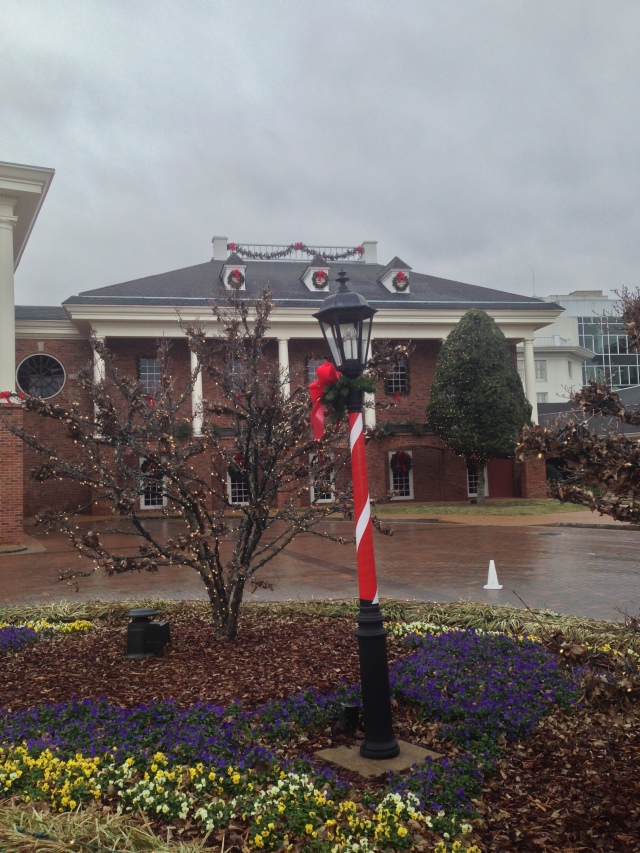
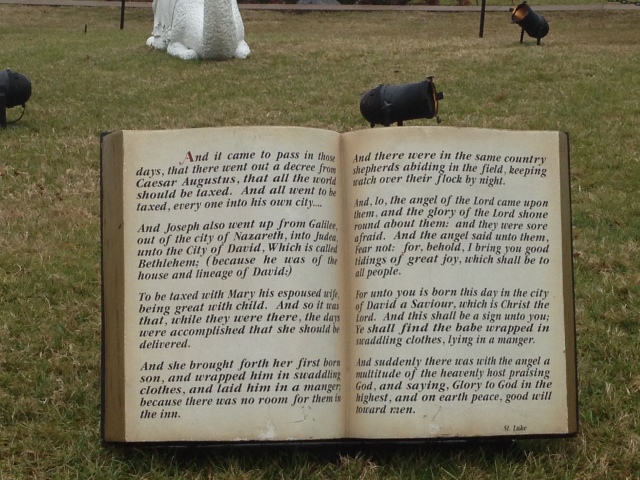
We had not been to the Gaylord Opryland Hotel for over 12 years, the last time we went it was absolutely wonderful! We had not been there at Christmas time, and it exceeded our expectations! If you will be traveling through the Nashville area this Christmas I highly recommend taking a pit stop here. No matter what your budget may be, or your interest you will find something to do here. We arrived around 9:30 central time, and decided to walk around inside the Hotel as it was drizzling outside. If you look close enough you can find free parking if not you will have to pay $20 to self park. We made our way downstairs first to see the Holly Jolly Town Square, if you have young children this is a must stop for you! At the Holly Jolly Town Square they have a store where children can buy gifts for family and friends. After this we walked up to the first level to see the Atrium, in the Atrium there is a river flowing through the middle of it that you can ride a River Boat. As we were walking around viewing the live flowers we enjoyed the waterfalls and also the Water Fountain Show. Another feature that is great for families is the Christmassy DreamWorks Experience, when we where walking around the Atrium we saw the ShrekFeast Interactive Character Meal. Before we went to get lunch we walked through the Treasures for the Holidays Craft Show and picked up a few last minute Christmas gifts. We were still on Louisville time and were quite hungry by 11am, we decided to eat at the Jack Daniel’s restaurant, the food was BBQ and was quite good! After lunch the rain had subsided so we went out to the front lawn of the hotel to see the Outdoor Nativity Display, it was beautiful and was a wonderful reminder of the True Reason for the Season!

With out any further adieu the pictures from our visit are below.

Gaylord Opryland Hotel via LashesandDashes

IMG_3680

IMG_3681

IMG_3682

Gaylord Opryland Hotel via LashesandDashes

IMG_3685

IMG_3687 IMG_3688

IMG_3689 IMG_3691

IMG_3694

IMG_3696

IMG_3697

IMG_3699 IMG_3700

IMG_3701

IMG_3703

IMG_3705

IMG_3709

IMG_3710

IMG_3711

IMG_3712 IMG_3713

IMG_3714 IMG_3715

IMG_3717

IMG_3719

IMG_3720

IMG_3722

IMG_3723 IMG_3724

IMG_3725

IMG_3727

IMG_3730

IMG_3731

IMG_3732

IMG_3733

IMG_3734

IMG_3735

IMG_3737

IMG_3739

IMG_3741

IMG_3742

IMG_3743

IMG_3744

IMG_3745

IMG_3746

IMG_3747 IMG_3748

IMG_3749

IMG_3750

IMG_3751

IMG_3752

IMG_3753

IMG_3754

IMG_3755


Peppermint Roll

Peppermint Roll via LashesandDashesJust like the Pumpkin Roll at Thanksgiving it is a tradition in my family to make Peppermint Roll for the Christmas Season. Peppermint Roll is super easy to whip up for a Christmas party or Family get together. I hope your family loves this dish just as much as mine! This recipe makes one large Peppermint Roll and one small Peppermint Roll.

As a side note “Santa” has come early in my house, and delivered a brand new 6 Qt Kitchen Aid Mixer. Today was the first day I have used it. I am so Thankful “Santa” brought it early, I absolutely love it and it makes baking much easier!

Peppermint Roll via LashesandDashes

IMG_3547

Peppermint Roll via LashesandDashes

Peppermint Roll via LashesandDashes Peppermint Roll via LashesandDashes

Make sure to bake on the middle rack

Peppermint Roll

Ingredients

1 box of Angel Food Cake Mix

Directions

Line jelly roll pan with wax paper. Prepare angel food cake mix as directed on back of box. Pour 3/4 of batter onto lined jelly roll pan. Bake at 350 for 15 minutes, make sure to keep your eye on the cake while in the oven as it can burn quite easy. After the 15 minutes pull the wax paper up to reveal the bottom of the cake, check to see if it is brown. Remove cake from oven. Turn the cake onto another piece of wax paper sprinkled with powdered sugar, quickly pull the wax paper off of the cake, if the cake starts to stick to the wax paper it was baked on use a serrated knife to help peel the cake off.  Roll the cake on the wax paper sprinkled with powdered sugar unto its self. Let the cake cool. When the cake is cool mix up your whipped cream.

Homemade Whipped Cream Topping

Ingredients

1 Pint Whipping Cream

1 cup Mini Semi Sweet Chocolate Chips

2/3 cup Andes Peppermint Crunch Baking Chips

1 tsp Peppermint Extract

1/2 cup powdered sugar

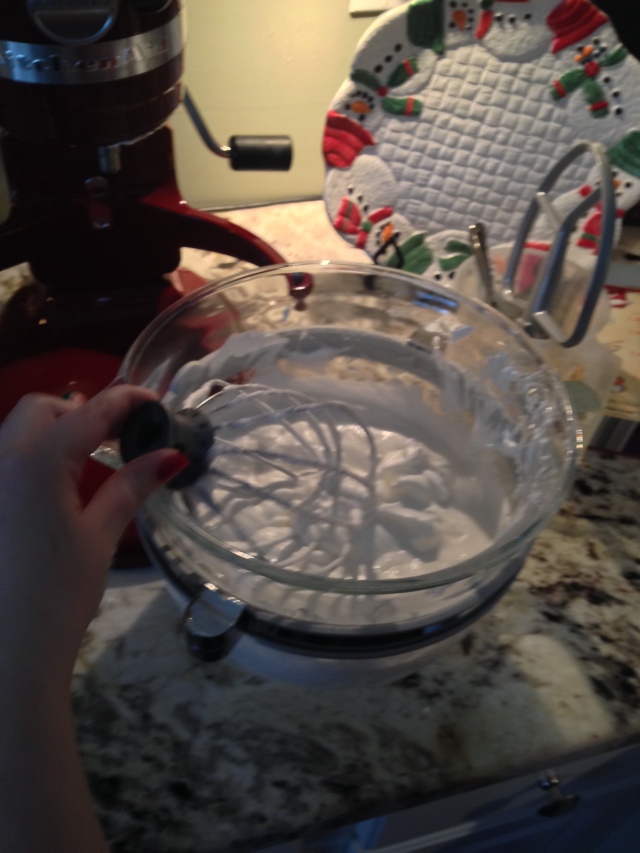
Put Mixing bowl and whisk into freezer. Pour the whipping cream into the chilled bowl. Using either a stand mixer or hand held mixer with whisk attached start at lowest speed and slowly increase speed to med-high or speed 8 on Kitchen Aid Mixer. Continue mixing until the whipping cream holds stiff peaks. Pour in the peppermint extract. Using a spatula incorporate the peppermint baking chips and the chocolate chips, incorporate carefully as to not deflate the whipped cream. Once all of the ingredients are incorporated spread the whipped cream mixture onto the cooled cake, re-roll the cake in wax paper and refrigerate until ready to serve.  To garnish the top spread whipping cream on top and sprinkle with the peppermint chips.  Enjoy and may this become a tradition in your home!

No Sew Toms Fix

My Toms were in desperate need of help, and I knew I did not want to throw them out or buy a new pair so I looked on Pinterest and low and be hold there were many tutorials. I adapted my tutorial from this blog post by The Carbon Magazine Post Here.

No Sew Toms Fix via LashesandDashes

I will let the picture speak for themselves, but a couple notes before we get into that. You can use either a razor knife or scissors to do your cutting I prefer the scissors but it is completely up to you. Also I played around with the pieces of fabric, on one shoe I cut the fabric to fit the shoe on the other I cut strips of fabric larger then the area I needed to cover. I found that cutting strips of fabric was the better choice of the two. If you will be washing your Toms after you have refinished them be sure to wash the fabric before you cover the shoe. I did not wash my fabric because I do not plan on washing my Toms.

The Supplies you will need for this project are as follows:

3/4 yard of non stretch cotton fabric (this will be more then enough for this project but I always think it is better to be safe then sorry)

Fabri-Tac Glue

Scissors or Sharp Razor Knife

Ribbon or cording

Old Fabric Toms

No Sew Toms Fix via LashesandDashes

As you can see it was a cheap fix.

All of the Supplies you will need for this project except for scissors

All of the Supplies you will need for this project except for scissors

Stuff the shoes with tissue paper.

Stuff the shoes with tissue paper.

Glue any holes together with the FabriTac

Glue any holes together with the FabriTac

Cover the first section of the shoe with the FabriTac

Cover the first section of the shoe with the Fabri-Tac then take a section of your fabric and place it on the glue. Press the fabric into the glue to make sure it bonds. Make sure to fold the fabric in the front of the shoe just like the original fabric.

Use either a sharp razor knife or scissors to cut off the excess fabric from the shoe. Follow the sole of the shoe when cutting.

Use either a sharp razor knife or scissors to cut off the excess fabric from the shoe. Follow the sole of the shoe when cutting.

Continue with the rest of the sections of the shoe as explained above.

Continue with the rest of the sections of the shoe as explained above.

Here I have glued together a large slit in the back of the shoe. Very carefully cut of the Toms logo on the back of the shoe.

Here I have glued together a large slit in the back of the shoe. Very carefully cut of the Toms logo on the back of the shoe.

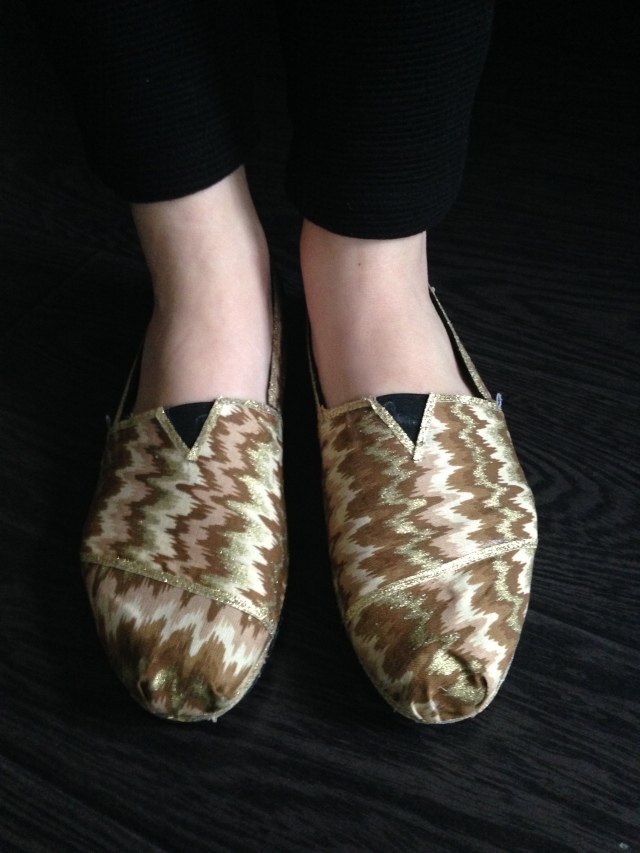
No Sew Toms Fix via LashesandDashes

You can stop at the above step if you would like. I wanted to give the shoe a bit more pizzazz so I glued a very thin gold ribbon onto the shoe wherever the fabric meets.

The Finished Product.

The Finished Product.

40 Nights of Lights, Louisville, Ky

40 Nights of Lights via LashesandDashesLast night we went to 4th Street Live in Louisville, Ky to see the 40 Nights of Lights. We parked right across from the Light Show, we arrived right at 7pm just in time to see the start of the show. The Light Show lasted just over 15 minutes, they played many of our favorite Christmas songs. I was shocked when they played Carol of the Bells by Pentatonix, it was absolutely wonderful! After the light show we walked around the 4th Street area enjoying the light displays.

20131204-083943.jpg

20131204-084114.jpg

20131204-084221.jpg

20131204-084240.jpg

20131204-084256.jpg

20131204-084347.jpg


40 Nights of Lights via LashesandDashes


Crepes for Thanksgiving Breakfast.

Happy Thanksgiving to all of you! I hope you enjoy this day with your families! We all have so much to be thankful for!

Thanksgiving Crepes via LashesandDashesEvery year for Christmas for as long as I can remember we have had  Crepes for breakfast on Christmas morning, it has become one of my  favorite traditions! Over the past couple years we have come to the  realization that this tradition is to good to be kept for only Christmas,  last year we had the Crepes on New Years Day as well. This year we  decided to make them on Thanksgiving. This tradition is one I  plan on continuing when I have my own family. The crepes are super easy to make, which is one of the reasons we love them! Also they  look just as wonderful as they taste! Feel free to fill the crepes with  what ever you would like, below I have listed some ideas.

Crepes for Thanksgiving Breakfast via LashesandDashes

The Ingredients

IMG_3075

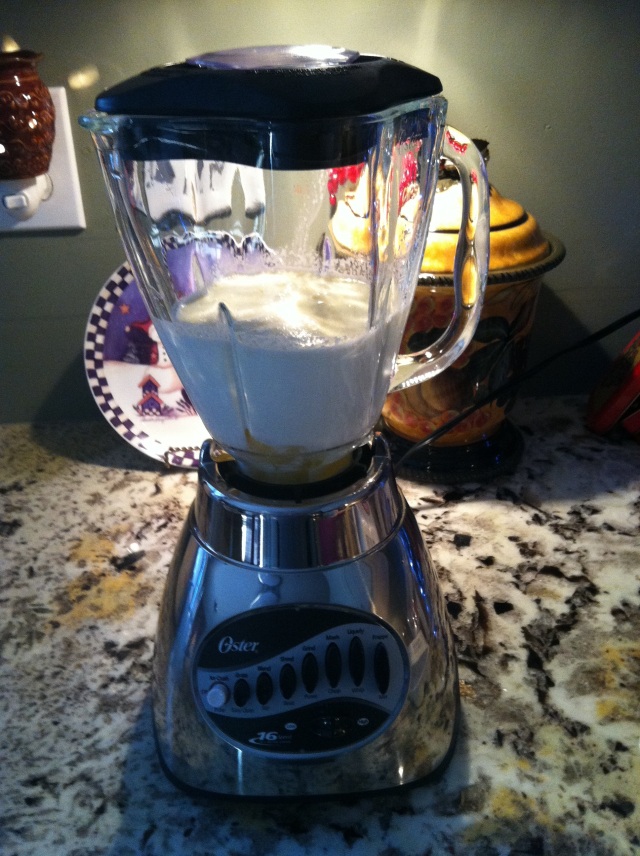
The batter in the blender.

IMG_3078

Melting the butter.

IMG_3079

Pouring the batter into the hot skillet.

IMG_3080

The crepe is cooking.

IMG_3084

The finished product.

Thanksgiving Crepes via LashesandDashes

Without any further adieu here is the recipe for my families crepes.

Crepes 

Ingredients

1/2 tsp salt

1 TBL sugar

1 tsp Vanilla

3 eggs

1 cup half and half

1/2 cup skim milk

2  TBS melted butter

1 cup all purpose flour

1 TBS butter

Some Ideads for the Filling for the Crepes

Your favorite jam

Whipped Cream

Powdered Sugar

Nutella

Fresh Fruit

Combine the salt, sugar, eggs, milk, butter and vanilla in a blender until well mixed. Add in 1/2 a cup of flour at a time and blend until smooth. Let the batter chill in the fridge for at least half an hour. When you are ready to cook blend the batter again so that it is smooth. Heat a nonstick skillet over medium heat, place a small amount of butter in the hot skillet, let it melt. Pour the batter into the middle of the pan, pour enough batter to almost cover the bottom of the skillet, Move the pan around just slightly to bring the batter to the edges of the pan. Once the crepes has bubbles flip it with a plastic spatula. Once the crepe is brown on both sides take it out of the pan and place it on a warm plate. Continue the above steps until you have no batter left. Once all of the Crepes are cooked you can begin filling them with your favorite fillings.  We place all of the fillings on the table so everyone can choose what they would like.

Enjoy!