Today I am bringing you an updated Healthy Almond Meltaway Cookies recipe. As most people in the world including my family are getting healthy I thought I would repost this yummy recipe. If you are anything like me, you still have to have something sweet while eating healthy. This recipe is even better then the original full fat version. I hope you all had a wonderful Christmas and New Year! In the next coming weeks I will be talking a bit more about the system we will be using to get healthy. Below is the original post as well as new photos. As a side note in the original post I announced I was moving back home to Florida. It is crazy to think we are two short months away from being here a full year!

Today I am taking a quick break from iTunes Tuesday to bring you delicious Almond Meltaway Cookies, that on top of being yummy are also healthy! As a side note I can officially tell you that we are moving home to Pensacola, Fl woohoo! Now back to your regularly scheduled programming ![]() My mom loves almond so they were a hit with her as well as my dad and I. The original recipe comes from The Novice Chef. I changed the recipe up a bit to make it a little healthier . The original recipe also had a glaze on top, I did not include the recipe for this but feel free to stop over at The Novice Chef to get the original recipe. Enjoy
My mom loves almond so they were a hit with her as well as my dad and I. The original recipe comes from The Novice Chef. I changed the recipe up a bit to make it a little healthier . The original recipe also had a glaze on top, I did not include the recipe for this but feel free to stop over at The Novice Chef to get the original recipe. Enjoy ![]()


Ingredients
2 cups King Arthur Organic Unbleached Flour
1/2 teaspoon baking powder
1/4 teaspoon salt
1 cup Organic Extra Virgin Coconut Oil
3/4 cup Wholesome Sweeteners Organic Fair Trade Cane Sugar
1 large egg
1 tablespoon almond extract
Directions:
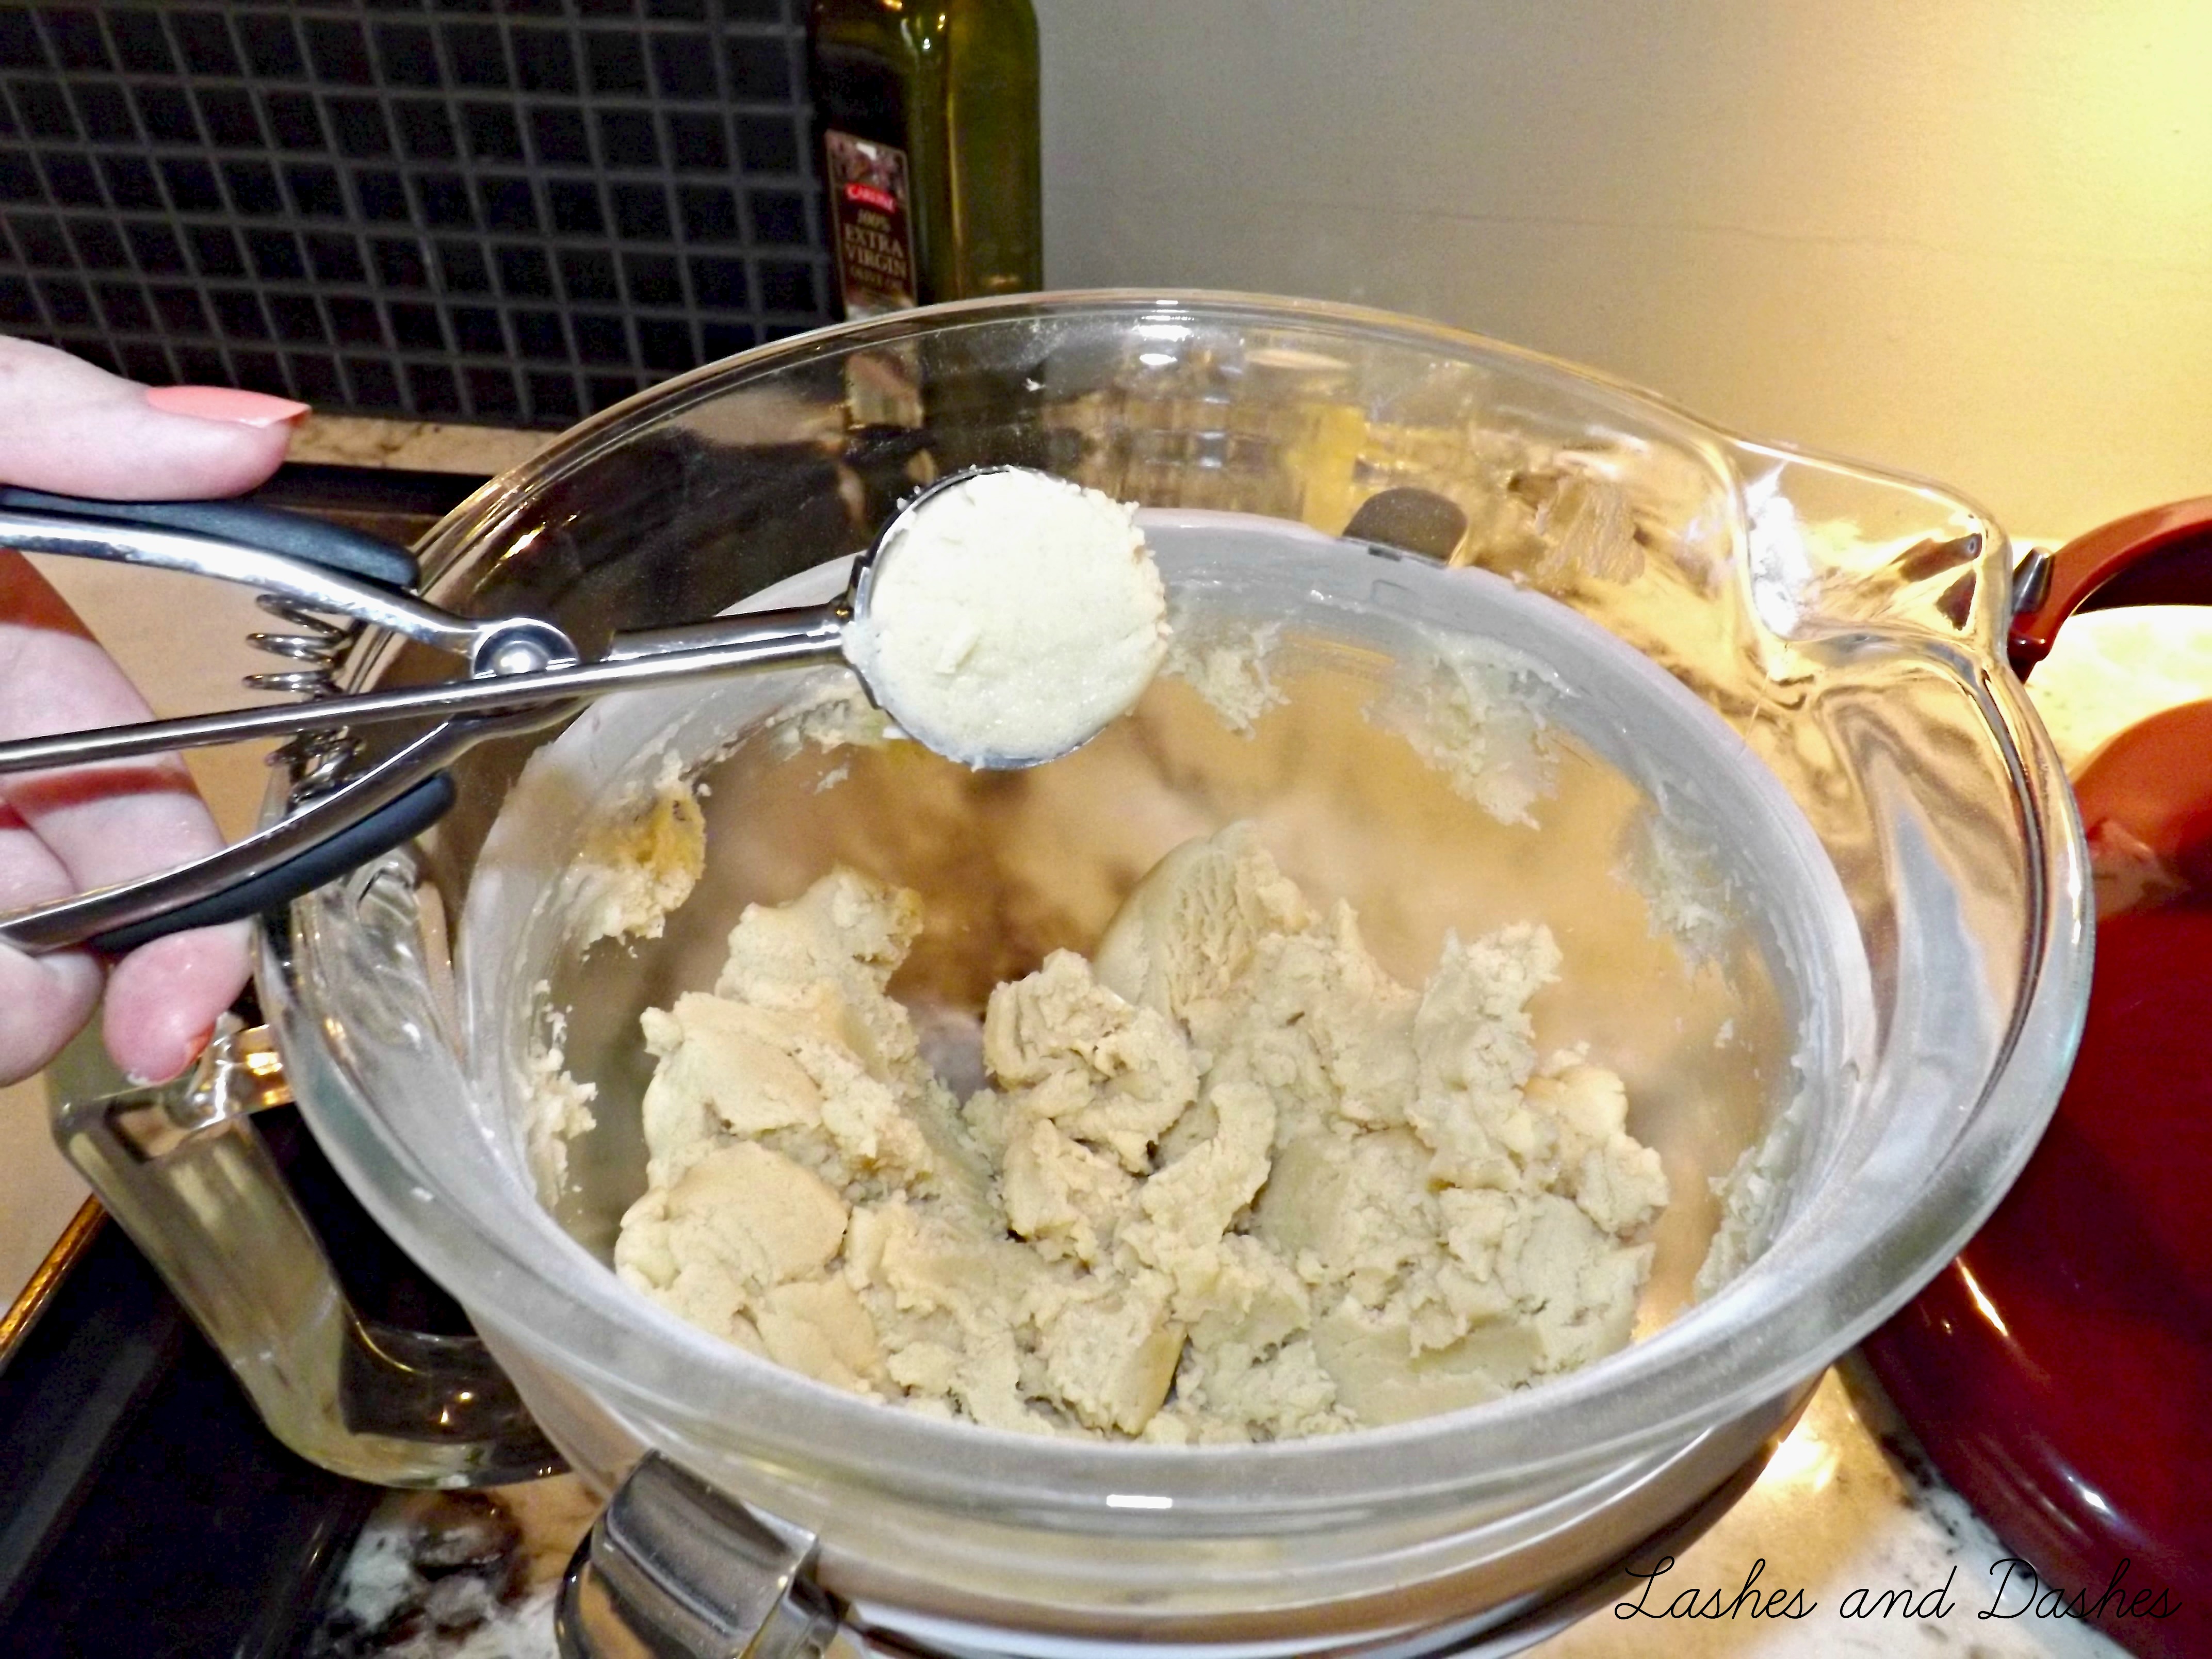
Preheat oven to 375°F. Line a baking sheet with parchment paper. Set aside. In measuring cup whisk together flour, baking powder and salt. In a stand mixer using flex edge beat Coconut Oil and sugar until light and fluffy. Add egg and almond extract, mixing until combined. Add flour mixture 1/2 cup at a time, mixing until completely combined. Using cookie scoop press dough into scoop making sure it is packed in scoop, release dough unto prepared baking sheet. Bake for 8 minutes. The cookies will not look browned or cooked, but they are! Remove from oven and let cookies rest on baking sheet for 5 minutes. Then transfer to a wire rack to cool completely.