End of the Year Reflections

Today’s blog will be a little different then the usual recipe.

IMG_9239p1
Today I just want to chat with you about life. As this year comes to an end and we are all thinking back over our year it is easy to dwell on the bad things that have happened.
When I think back over my year I am struck by all that has happened, not much went to my plans. I would have never expected to have an arm injury that would change my life forever. Those three months changed my life, though not in the way one would think. Yes my life did change in that I could no longer do simple things such as holding a drinking glass or cutting my own food. It changed the way I looked at my life. I had planned for life to go a certain way, I expected to blog, make food, and continue on with life. I learned that no matter how much you plan your life it is still in Gods hands.
IMG_0050p1
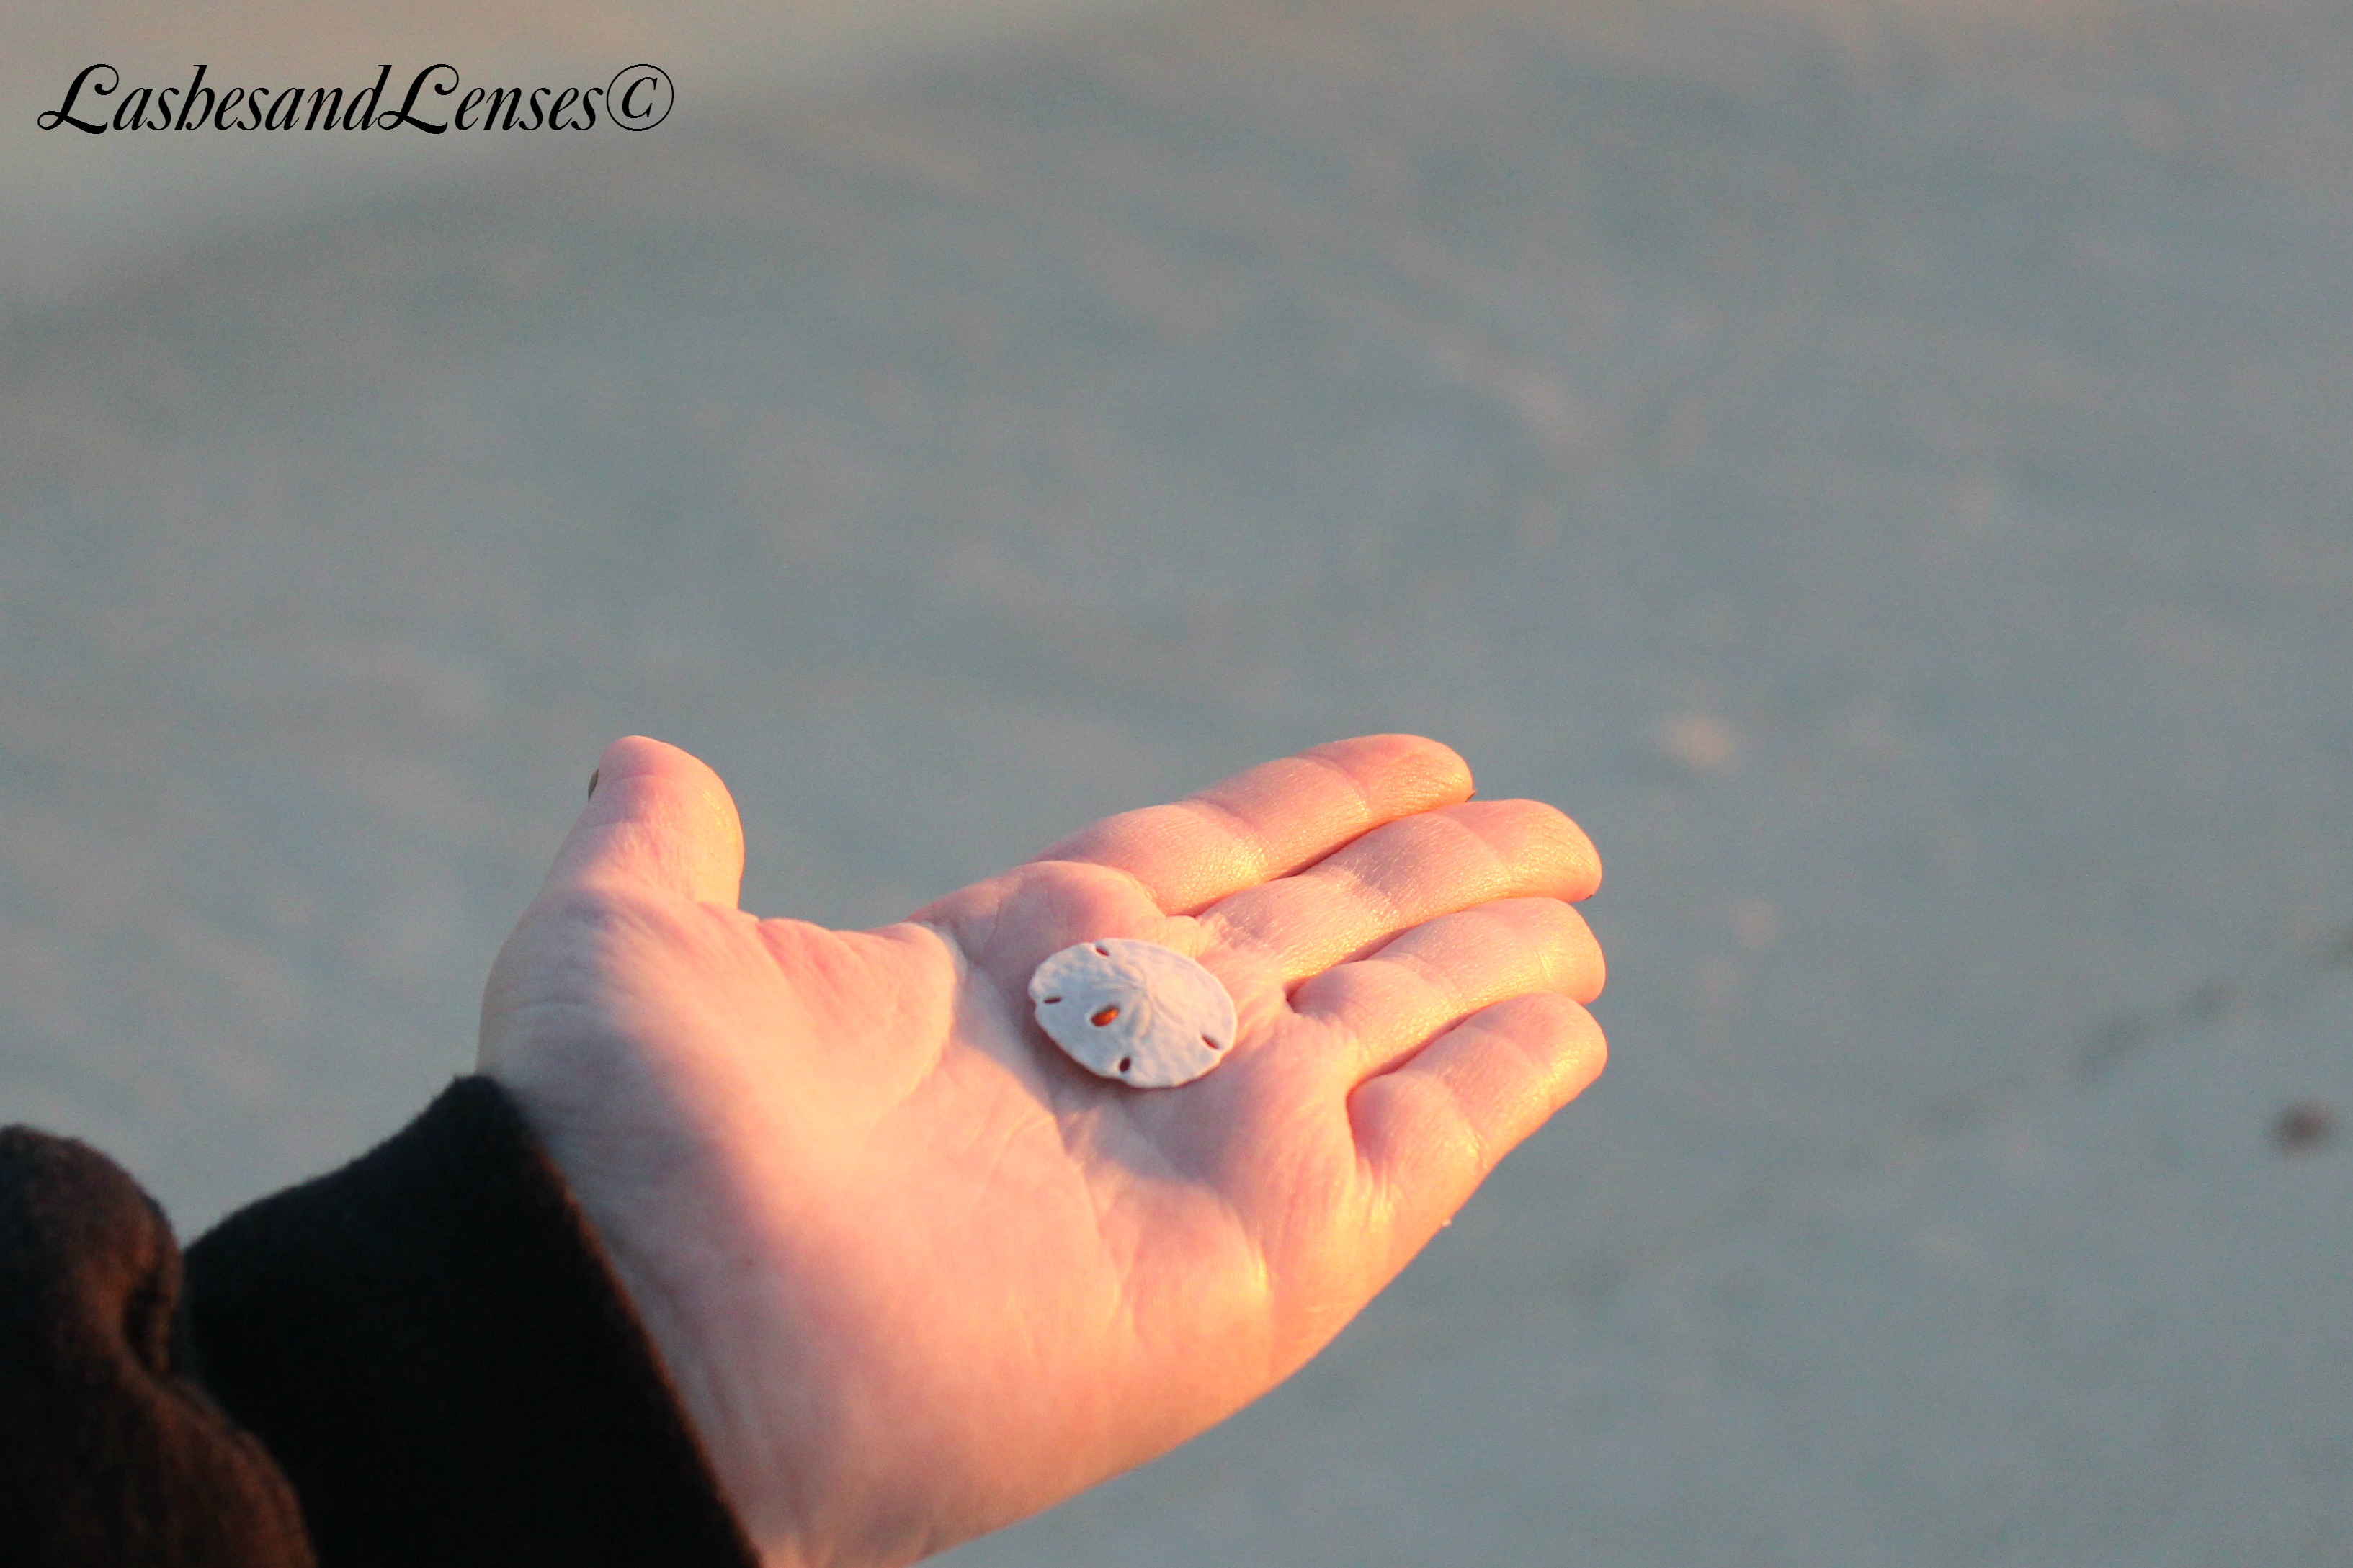
It is such a hard lesson for me to learn, which I still am. I love to plan, I hate being spontaneous but slowly I am trying to let go and let God. When I was in the midst of the battle with my arms I had to face that everything I had planned for my life might not happen, blogging, driving, cooking food, leading children’s theatre, being able to have a social life. You might think that I would wish none of that ever happened but I don’t. I am thankful for God’s plan and provision. I am so thankful for my year, even if it didn’t go to plan. If you would have asked me when I was 16 what my life would look like when I was 20 I would have said  I would be a school teacher  or owned a successful home business. Instead I am blogging as well as figuring out what I want to do with my life. I would have never guessed cooking would become so important to me.  
IMG_0743p1
I would love for you to check out this blog post that has gone viral Click Here. After you read it hop back over to my blog and let me know what you think.

I still have dirt under my nails, I held on and persevered. I am still here, I am smarter, stronger and thankful for my experience. As we come into the new year don’t dwell on the bad, dwell on the fact that you still have dirt under your nails! You survived, you are here and God is with you! My personality type is to set everything to high expectations and try to hit those expectations. When life does not go the way I planned it’s easy to feel like I have failed, but I am here to say that I haven’t failed. Gods plan is so superior to mine, my plans will never be able to measure up to His! I hope and pray that your lives this coming year are filled with Blessings! I look forward to continuing to blog in 2015 and seeing what God has planned for my life!

Al Fresco Pensacola

A few weeks ago my family and I revisited Al Fresco in Downtown Pensacola and I was reminded the last time we visited I took pictures with plans to blog it. Life can get a bit crazy,lol The first time we visited was a few months ago, both times the food was delicious! Al Fresco is a collection of food trailers with all sorts of cuisines in Downtown Pensacola. They share a courtyard as well as seating. Another plus at Al Fresco, they have water misters strung in between the palm trees to keep you cool. The first time we visited I got a pulled pork sandwich from Gunshot BBQ, which unfortunately I forgot to take a picture of, my parents shared a few different types of tacos from Z Taco. They both really enjoyed the Zeviche which is pictured below. The second time we visited I had Five Flags Mac and Cheese from Gouda Stuff which I loved! I highly recommend visiting Al Fresco no matter if you are a local or just visiting! Coincidentally the first time we went to Al Fresco it was Cinco De Mayo and they were having a Pig Roast to celebrate. Be sure to check out this post for a Giveaway for a beautiful Coffee Table Photo Book. Enjoy 🙂

Al Fresco Pensacola via Lashesanddashes

Zeviche and Pacos Tacos

Al Fresco Pensacola via Lashesanddashes

Five Flags Mac and Cheese

Al Fresco Pensacola via LashesandDashes


Al Fresco Pensacola via LashesandDashes

Al Fresco Pensacola via LashesandDashes

Birthday Celebration + Photo Book Giveaway

Let me begin by saying Thank You! I had a wonderful time celebrating with friends and family far and wide. The day before my birthday I was surprised with a Party at a local restaurant. Several friends were able to come and celebrate with me. The day of my birthday I went Antiquing then lunch at Norma’s at Duh where I was in for another surprise, Norma signed her cookbook for me as well as sat and chatted for a bit. I had a wonderful time celebrating that I am no longer in my teens! Thank you to everyone who made it so special for me, this was a birthday to remember for years to come! Below are two galleries of my celebration. Check out the bottom of the page for the giveaway.

Birthday Celebration via LashesandDashes

My surprised look as I saw all of my friends.

Today I bring you a Photo Book Giveaway, I have partnered with Lashes and Lenses Photography to bring you this awesome gift. The giveaway starts today and will end on Monday September 8, 2014. Whoever wins this giveaway will receive a 8 inch by 8 inch, 20 page photo book with their choice of Beach, Nature, or Sunrise and Sunset Pictures or a mix of all. This book will be beautiful to display on your coffee table. Below are a few picture options.


Photo book giveaway via Lashes and Dashes

Star of David Sunset

Photo book giveaway via Lashes and Dashes

Sunset

Photo book giveaway via Lashes and Dashes

Nature

Photo book giveaway via Lashes and Dashes

Nature.

Photo book giveaway via Lashes and Dashes

The Beach

Photo book giveaway via Lashes and Dashes

Grey Heron on the Beach


Photo Book Giveaway

Dads Chocolate Trifle

Today I bring you my Dad’s Chocolate Trifle. I remember when I was little my mom and I would make this for Father’s Day. This dessert is perfect and quick! This year I did not put any candy in the trifle but typically we use crushed Heath Bars in between the layers. I used a box brownie mix but you could also make homemade. I use Cool Whip since it is stabilized, I suppose you could make homemade whipped cream but I am not sure how it would hold up for a few days in the fridge.

Dads Brownie Trifle via LashesandDashes

Dads Brownie Trifle via LashesandDashes

Dads Brownie Trifle via LashesandDashes

Dads Brownie Trifle via LashesandDashes


Ingredients: 

1 boxed brownie mix, made and cut into 1 inch pieces

1 container Cool Whip

1 box chocolate pudding, prepared according to package

1 trifle bowl or small punch bowl

Optional: Crushed Candy


Directions:

Layer in brownie pieces, make sure to cover bottom of bowl. Next layer in pudding. After that if you choose layer in crushed candy. Next layer in Cool Whip. Repeat layers. I did two complete layers then crumbled bownie on top of the last layer of Cool Whip. Can be made up to a day in advance. Enjoy!

Patriotic Trifle

I made this trifle for Memorial Day, I got the idea from Mels Kitchen Cafe, I used her recipe as a jumping off point. I love trifles for their simplicity but it looks like you spent hours.  You can make everything homemade or you can buy it from the store. I made the blueberry filling homemade but bought the cherry filling. We had friends and family over for Memorial Day and they gave this dessert a thumbs up!  On a side note please bare with me in the next few weeks as there may be some exciting changes coming to Lashes and Dashes 🙂

Patriotic Trifle via LashesandDashes

Adding water to the blueberries.

Patriotic Trifle via LashesandDashes

Adding in the cornstarch.

Patriotic Trifle via LashesandDashes

In goes the sugar.

Patriotic Trifle via LashesandDashes

All of the ingredients for the blueberry filling in the pot.

Patriotic Trifle via LashesandDashes

The blueberry filling cooking.

Patriotic Trifle via LashesandDashes

The blueberry filling cooked and cooling.

Patriotic Trifle via LashesandDashes

Adding condensed milk to softened cream cheese.

Patriotic Trifle via LashesandDashes

The cream cheese filling.

Patriotic Trifle via LashesandDashes

Making whipped cream.

Patriotic Trifle via LashesandDashes

The cake mixture layer on the bottom.

Patriotic Trifle via LashesandDashes

The blueberry filling layered on.

Patriotic Trifle via LashesandDashes

The whipped cream layer.

Patriotic Trifle via LashesandDashes

Note: I used a Angel Food Box mix and used about 3/4 of the cake. You could also use a store bought cake which the original recipe said is the perfect size. If you choose to decorate the top of the trifle keep the other portion of the cake. I used canned cherry pie filling but you can also make homemade cherry filling the same way you made the blueberry.

Ingredients 

Blueberry Filling:

12 ounces frozen blueberries
2 tablespoons granulated sugar
2 tablespoons cornstarch
1/4 cup cold water
Squeeze of fresh lemon juice (about 1/2 tablespoon)

Cherry Pie Filling.

Cake and Cream:

Baked, cooled and cubed angel food cake (see note)
16 ounces light cream cheese, softened to room temperature
2/3 cup half-and-half or evaporated milk (can use skim evaporated milk)
2/3 cup granulated sugar

Whipped Cream:

1 1/2 cups heavy cream
3 tablespoons powdered sugar

Directions

DIRECTIONS

For the blueberry filling, in a medium saucepan, combine the blueberries, sugar, cornstarch, water and lemon juice. Bring the mixture to a simmer and cook until thickened, 5-7 minutes, stirring often. Remove from the heat and let cool to room temperature. For the cake and cream layer, in a blender or with an electric mixer (handheld or stand mixer), whip together the cream cheese, half-and-half or evaporated milk and sugar until smooth and creamy. Transfer the mixture to a bowl if you used a blender. Fold in the angel food cake cubes. Keep in mind (from the note above) that you may not use all the cake cubes, especially if using an angel food cake mix. Add cake cubes until they are all thickly coated with a layer of cream. If making this in advance, it can dry out if there is too much angel food cake added. For the whipped cream, beat together the heavy cream and powdered sugar until peaks form. To assemble, in a trifle dish or in a large glass bowl, spread half of the angel food cake mixture. Top with half of the blueberries, spreading evenly across, and then spread half of the sweetened whipped cream. Then spread half of your cherry filling. Repeat the layers but keep out small amount of blueberry and cherry filling as well as small amount of whipped cream. If you would like to decorate the top of the trifle use extra angel food cake chunks around the outside edge of trifle, then using the leftover cherry filling make a circle around top of cake. Using the leftover whipped cream make a smaller circle then place a small dollop of blueberry filling in the middle to finish the trifle off.
Cover and refrigerate at least 2 hours or up to 24 hours. Serve chilled.

Chateaubriand Recipe

Chateaubriand via LashesandDashes

The finished product.

For Mothers Day here in the US,  I made Chateaubriand, My parents had Chateaubriand the night they were engaged. so it was very special for my Mom. For my first ever traditional French meal I think it turned out wonderful. I made all of the sauces homemade, you can find the recipe Here. I know I will be making this dish again for special occasions! Chateaubriand is not a difficult meal if you follow the recipe.

Chateaubriand via LashesandDashes

Melting the butter.

Chateaubriand via LashesandDashes

Searing the meat.

Chateaubriand via LashesandDashes

Searing the meat on all sides.

Chateaubriand via LashesandDashes

The meat placed on a rack in my pan, ready to go in the oven.

Chateaubriand via LashesandDashes

Chopping the tarragon.

Chateaubriand via LashesandDashes

The meat after cooking in the oven.

Chateaubriand via LashesandDashes

Adding in the shallots.

Chateaubriand via LashesandDashes

Sauteing the shallots.

Chateaubriand via LashesandDashes

Adding in the red wine.

Chateaubriand via LashesandDashes

Adding in the Demi-Glace.

Chateaubriand via LashesandDashes

Tarragon being added in.

Chateaubriand via LashesandDashes

Ingredients

1 thick, center cut tenderloin, approximately 1 pound

2 tablespoons unsalted butter

2 tablespoons olive oil

Salt and freshly ground black pepper, to taste

1 shallot, minced

4 oz. full-bodied red wine

4 oz. Demi glace

1-tablespoon butter, softened

2 teaspoons minced fresh tarragon

Whole tarragon leaves, for garnish

Directions

Preheat your oven to 375º F. Liberally sprinkle salt and pepper on the meat. Preheat an oven-safe heavy skillet or saute pan over medium-high heat. Depending on your stove, this could take 4 or 5 minutes. Add the butter and oil to the pan. When the butter stops foaming, place meat in pan.With tongs, turn the meat and continue searing. If the meat sticks to the pan, leave it for another few seconds. When the sear is complete, the meat will release on its own, so be gentle and patient. Keep an eye on the heat, you may need to adjust it up or down to maintain a good “sizzle ‘ without burning the meat. Remove the meat from the pan, and place an oven-safe rack in the cooking pan. Put the meat on the rack and roast in the oven until the meat has reached an internal temperature of 125º F if you want your meat more on the rare side. I cooked the meat for 25 minutes. Put the meat on a warmed platter to rest for about 15 minutes. The temperature will continue to rise, and your meat will be a perfect medium well. While the meat is resting, prepare the sauce. You should have plenty of oil/butter left in the cooking pan. Place the pan over medium heat – careful, it has been in the oven. Make sure you have an oven mitt, because the handle can burn you. Add the minced shallot and saute until translucent, but not browned. Add the red wine. Turn the heat up to medium high and reduce by half. Add the demi-glace to the pan and reduce for a couple of minutes until the mixture is somewhat syrupy. Taste for seasonings, and add salt and pepper if necessary. Stir in the minced tarragon and remove from the heat. Swirl in the softened butter right before serving. This will help to further thicken the sauce and impart a lovely sheen. We sliced the meat in the kitchen but the traditional preparation would be to slice the meat at the table. I severed this dish with piped mash potatoes but you can use any other side you wish.


Classic French Sauces.

I made Chateaubriand a few weeks ago for my Mom on Mother’s Day. I made these two sauces for it. Both of these sauces are simple to make and are wonderful on their own as well as combined to make other sauces. First I made Espagnole Sauce which is the most time consuming of the two, the Demi-Glace uses all of the Espagnole Sauce. We had some of the Demi-Glace Sauce left after I made the Chateaubriand, so the next day I served it along with baked pork chops, it was wonderful!  These sauces will be made again and again in my house, they are so easy to make and really add something to whatever dish you are making. Check out the Chateaubriand Recipe Here.

French Sauces via LashesandDashes

Melting the butter.

French Sauces via LashesandDashes

Skimming the foam off the top of the melted butter.

French Sauces via LashesandDashes

The clarified butter.

French Sauces via LashesandDashes

The milk solids next to the clarified butter.

French Sauces via LashesandDashes

Measuring the flour.

French Sauces via LashesandDashes

Measuring the Clarified Butter.

French Sauces via LashesandDashes

Adding the Clarified Butter to my Stock Pot.

French Sauces via LashesandDashes

Adding in the chopped carrots.

French Sauces via LashesandDashes

Adding in the onions.

French Sauces via LashesandDashes

Sauteing the mirepoix.

French Sauces via LashesandDashes

Making the Sachet.

French Sauces via LashesandDashes

Adding in the flour to make the roux.

French Sauces via LashesandDashes

Whisking in the Stock.

French Sauces via LashesandDashes

Whisking in the tomato paste.

French Sauces via LashesandDashes

The Espagnole Sauce after adding in the paste.

French Sauces via LashesandDashes

The Espagnole Sauce coming to a boil.

French Sauces via LashesandDashes

Adding in the sachet.

French Sauces via LashesandDashes

Straining the sauce.

French Sauces via LashesandDashes

Adding in the Brown Stock to the Espagnole Sauce to make the Demi-Glace.

French Sauces via LashesandDashes

My little Sous Chef, Arianna.

French Sauces via LashesandDashes

The Demi-Glace boiling.

French Sauces via LashesandDashes

The Demi-Glace.


Clarified Butter

Ingredients 

1 stick unsalted butter

Directions

Heat butter over low heat in heavy bottom sauce pan. Simmer until foam starts to rise to the top of the butter. Begin to skim foam off top of butter, continue to skim foam. The foam is milk solids, keep the milk solids, they are great in mashed potatoes. Remove the clarified butter from heat. Clarified Butter can be kept in fridge for a month.

Espagnole sauce

Ingredients

1 cup onions, diced
½ cup carrots, diced
½ cup celery, diced
2 oz clarified butter
2 oz all-purpose flour
6 cups brown stock
¼ cup tomato purée

For Sachet:
1 bay leaf

½ tsp dried thyme

3-4 fresh parsley stems

4 inch square piece of cheese cloth

1 inch wide  piece of cheese cloth

To make sachet place parsley, thyme, and bay leaf in middle of square cheese cloth. Tie the sachet together with inch wide cheese cloth.

Directions

In a heavy-bottomed saucepan, place clarified butter. Add the mirepoix and sauté for a few minutes until it’s lightly browned. (Mirepoix is just a fancy word for diced carrots, onions, and celery) Don’t let it burn, though. Whisk the flour into the mirepoix a little bit at a time, until it is fully incorporated and forms a thick paste or roux. Lower the heat and cook the roux for another five minutes or so, until it’s light brown. Don’t let it burn! The roux will have a slightly nutty aroma at this point. Using a wire whisk, slowly add the stock and tomato purée to the roux, whisking vigorously to make sure it’s free of lumps. Bring to a boil, lower heat, add the sachet and simmer for about 50 minutes or until the total volume has reduced by about one-third, stirring frequently to make sure the sauce doesn’t scorch at the bottom of the pan. Use a spoon to skim off any impurities that rise to the surface. Remove the sauce from the heat and retrieve the sachet. For an extra smooth consistency, carefully pour the sauce through a strainer. Serve hot. If not serving the sauce right away, keep it covered and warm until you’re ready to use it.

Makes about 1 quart of Espagnole sauce.

Demi-Glace

Ingredients 

2 cups brown stock
2 cups brown sauce (espagnole)
——– For Optional Sachet: ——–
1 bay leaf
½ tsp dried thyme
3-4 fresh parsley stems

Directions

Combine the Espagnole sauce and the brown stock in a heavy-bottomed saucepan. Bring to a boil over medium-high heat, then lower heat to a simmer, add the sachet and reduce for about 20 minutes or until the total volume has reduced by half. Remove pan from heat and retrieve the sachet. Carefully pour the demi-glace through a wire mesh strainer lined with a piece of cheesecloth if you used a sachet.

Makes about 1 pint of demi-glace.